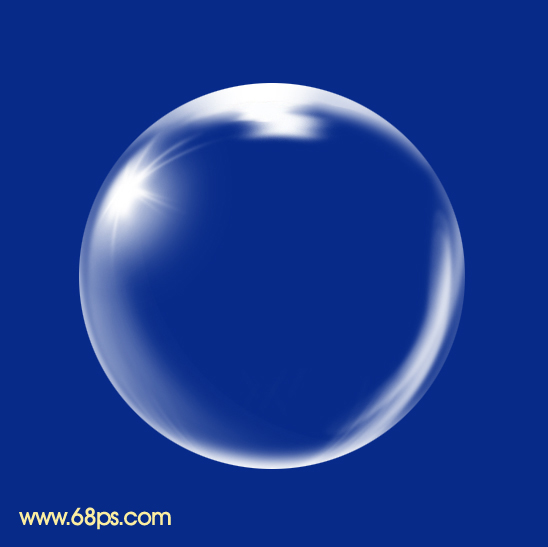
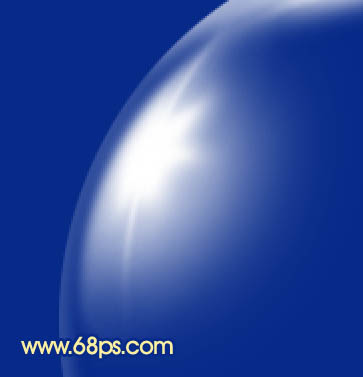
气泡制作重点是高光部分的处理:从边缘到中间的高光都不是相同的;边缘的高光比较均匀;中间的高光就变化多一点,有类似星光的高光,也有弧形高光。
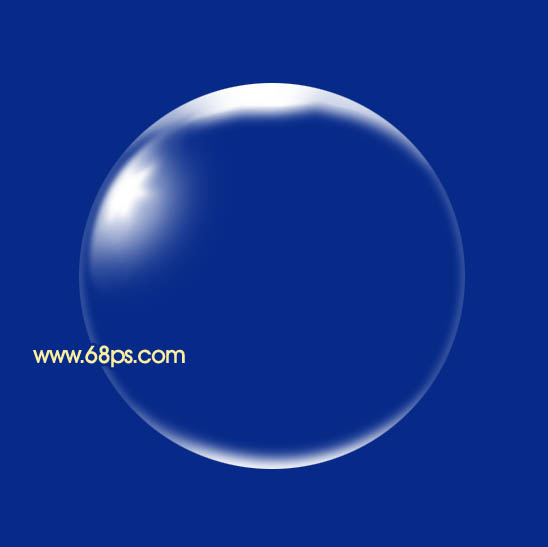
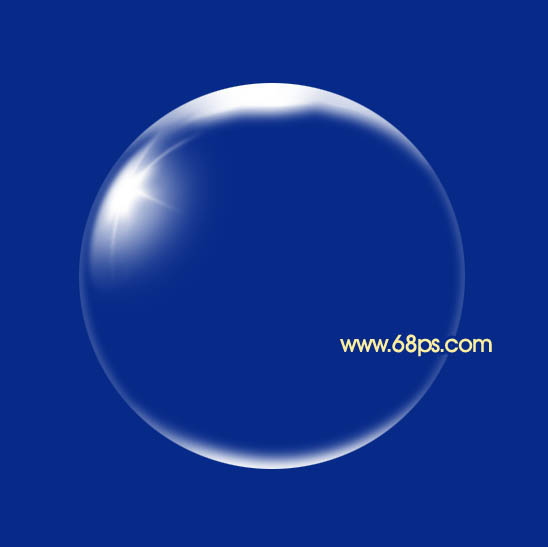
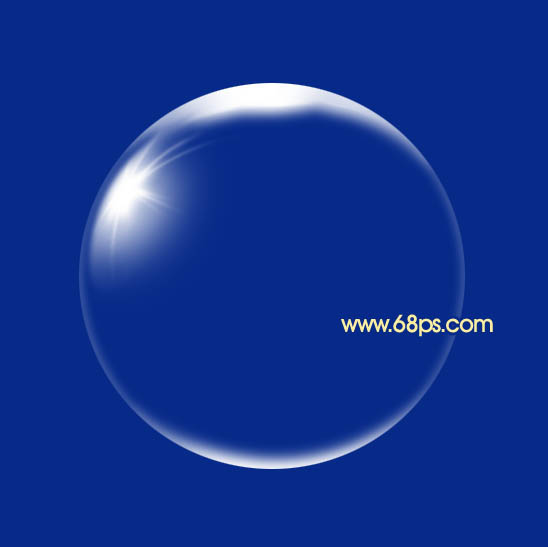
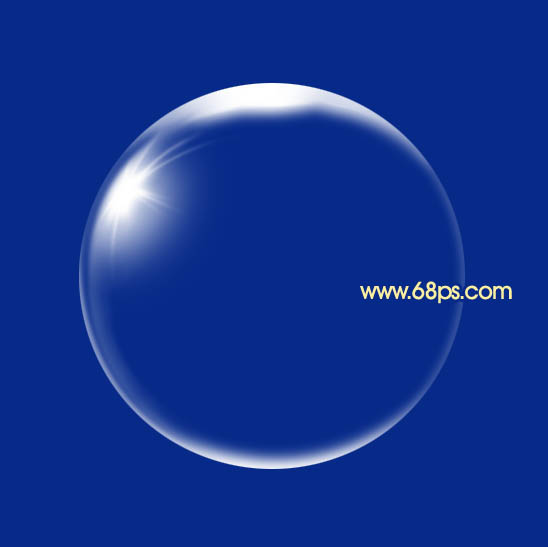
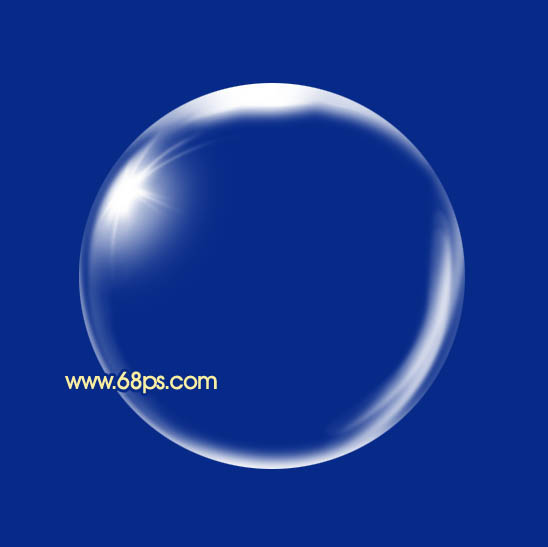
最终效果
1、新建一个600 * 600像素的文档,背景填充暗蓝色:#072A89,新建一个图层,用椭圆选框工具拉出下图所示的正圆选区,填充跟背景相同的颜色,如下图。
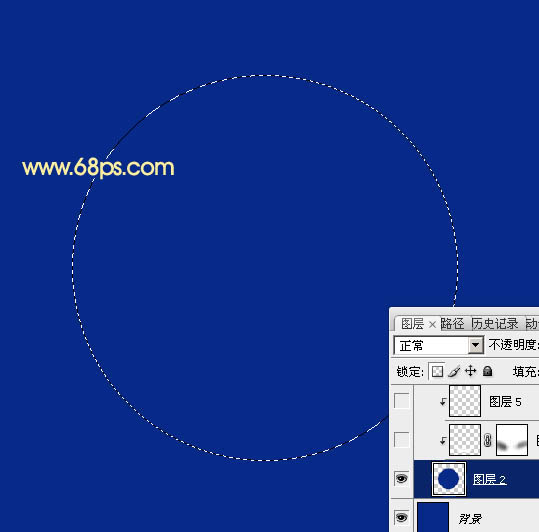
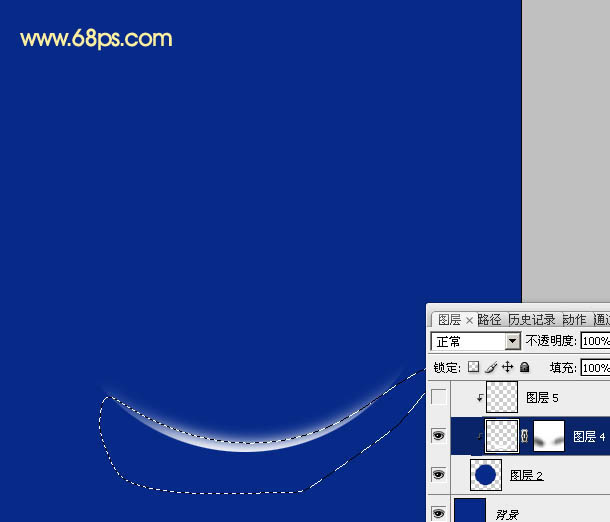
2、新建一个图层,按Ctrl + Alt + G 与前一图层编组。然后在当前图层下面新建一个图层,用钢笔勾出下图所示的选区,羽化8个像素后填充白色。取消选区后添加图层蒙版,用黑色画笔把两端的过渡稍微涂抹一下,大致效果如下图。
3、调出正圆选区,新建一个图层,选择菜单:编辑 > 描边,宽度4,取消选区后效果如下图。

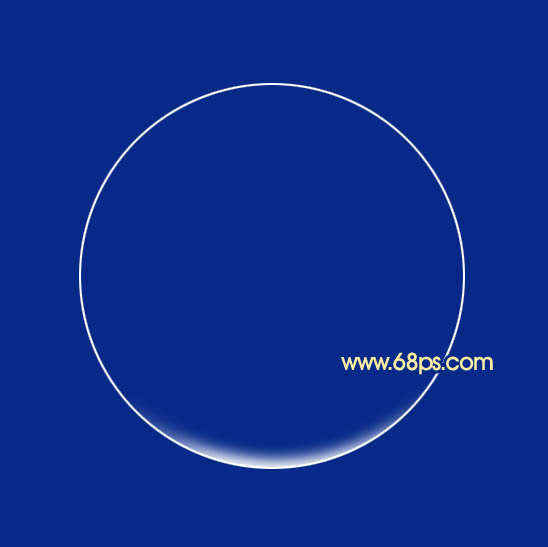
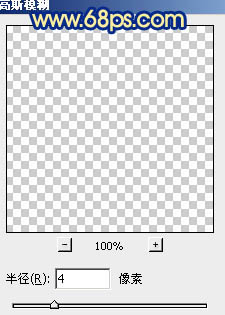
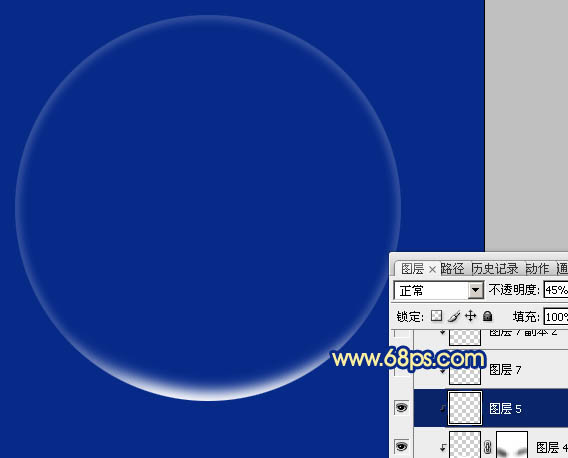
4、执行:滤镜 > 模糊 > 高斯模糊,数值为4,确定后把图层不透明度改为:45%,效果如图。
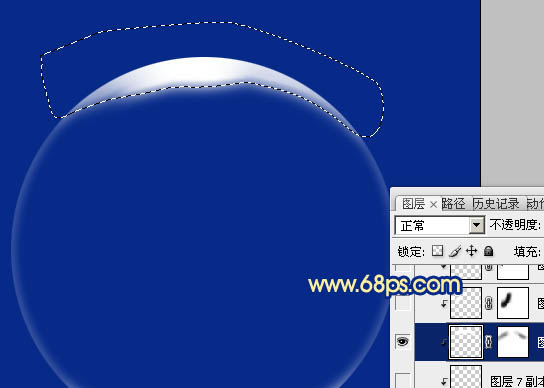
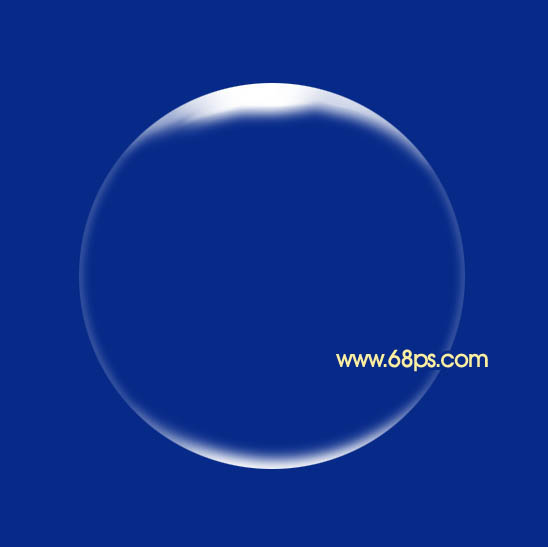
5、新建一个图层,用钢笔勾出下图所示的选区,按Shift + F6羽化3个像素后填充白色。取消选区后用涂抹工具把边缘涂抹一下,局部用模糊工具稍微模糊处理。然后添加图层蒙版,用黑色画笔把边缘过渡擦出来,效果如图。
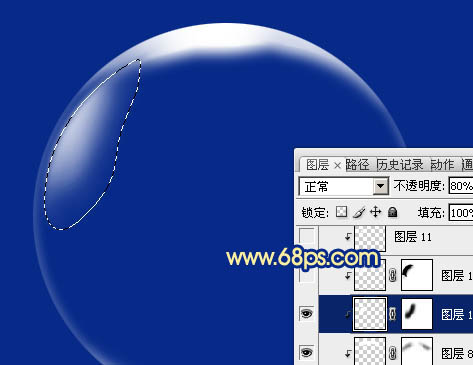
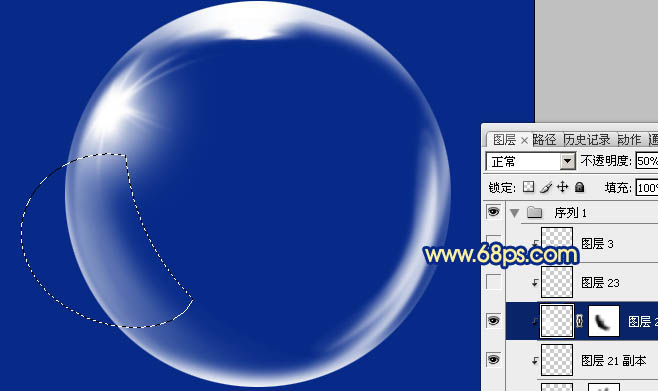
6、新建一个图层,用钢笔勾出左边高光部分的选区,羽化2个像素后填充白色。取消选区后添加图层蒙版,用黑色画笔把右边过渡擦出来,如下图。
7、新建一个图层,用钢笔勾出下图所示的选区,羽化15个像素后填充白色。取消选区后添加图层蒙版,用黑色画笔把左边空隙部分擦出来,如下图。
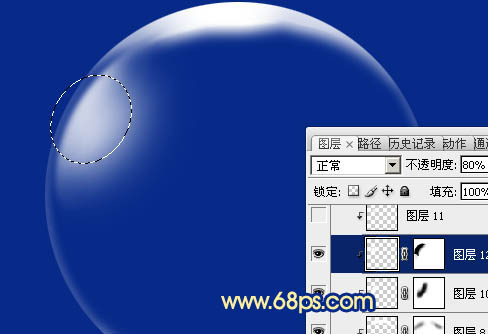
8、新建一个图层,用钢笔勾出下图所示的选区,羽化3个像素后填充白色。取消选区后用涂抹工具把边缘涂抹一下,效果如图。

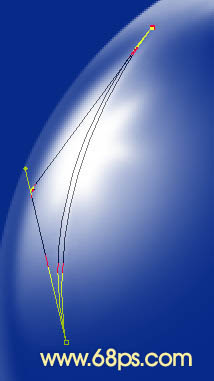
9、新建一个图层,用钢笔勾出下图所示的路径。转为选区后填充白色。取消选区后用模糊工具稍微模糊一下,添加图层蒙版,用黑色画笔把两端过渡擦出来,效果如图。
10、新建一个图层,同上的方法再制作其它的小光束,过程如图。
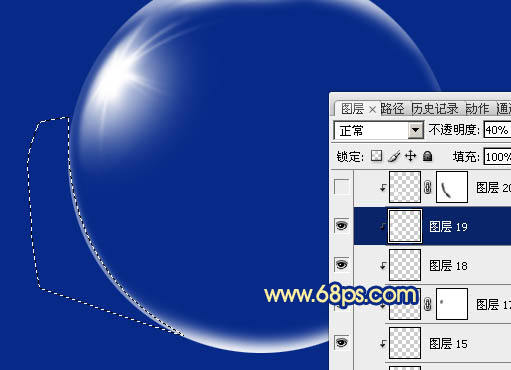
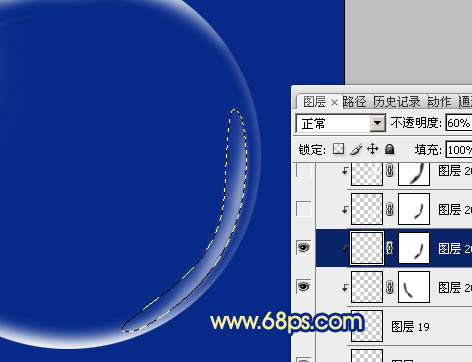
11、新建一个图层,用钢笔勾出下图所示的选区,羽化3个像素后填充白色,不透明度改为:40%,效果如下图。
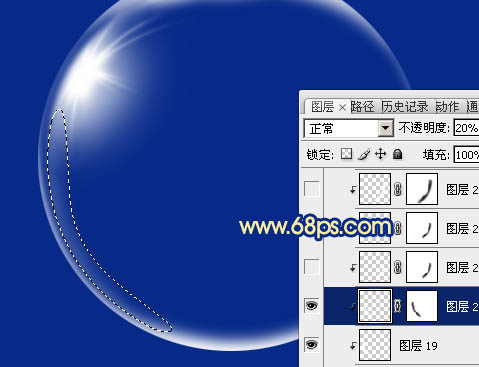
12、新建一个图层,用钢笔勾出下图所示的选区,羽化5个像素后填充白色。取消选区后添加图层蒙版,用黑色画笔把边缘部分的过渡擦出来,再把图层不透明度改为:20%,如图。
13、同上的方法制作右边高光,过程如图。
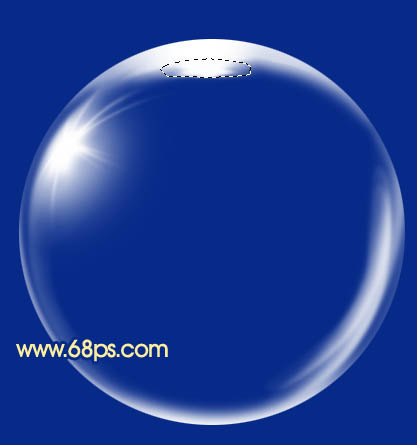
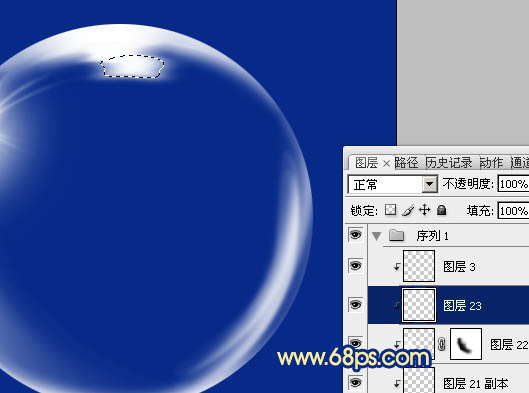
14、新建一个图层,同上的方法制作顶部的小高光,效果如下图。
15、新建一个图层,同上的方法制作左边较淡的高光,过程如图。

16、新建一个图层,再给顶部加上一块小高光,如下图。
17、感觉底部细节还不够。新建一个图层,用钢笔再加上一些小线条,效果如下图。

最后微调一下细节,完成最终效果。
最终效果

1、新建一个600 * 600像素的文档,背景填充暗蓝色:#072A89,新建一个图层,用椭圆选框工具拉出下图所示的正圆选区,填充跟背景相同的颜色,如下图。

2、新建一个图层,按Ctrl + Alt + G 与前一图层编组。然后在当前图层下面新建一个图层,用钢笔勾出下图所示的选区,羽化8个像素后填充白色。取消选区后添加图层蒙版,用黑色画笔把两端的过渡稍微涂抹一下,大致效果如下图。

3、调出正圆选区,新建一个图层,选择菜单:编辑 > 描边,宽度4,取消选区后效果如下图。


4、执行:滤镜 > 模糊 > 高斯模糊,数值为4,确定后把图层不透明度改为:45%,效果如图。


5、新建一个图层,用钢笔勾出下图所示的选区,按Shift + F6羽化3个像素后填充白色。取消选区后用涂抹工具把边缘涂抹一下,局部用模糊工具稍微模糊处理。然后添加图层蒙版,用黑色画笔把边缘过渡擦出来,效果如图。


6、新建一个图层,用钢笔勾出左边高光部分的选区,羽化2个像素后填充白色。取消选区后添加图层蒙版,用黑色画笔把右边过渡擦出来,如下图。

7、新建一个图层,用钢笔勾出下图所示的选区,羽化15个像素后填充白色。取消选区后添加图层蒙版,用黑色画笔把左边空隙部分擦出来,如下图。

8、新建一个图层,用钢笔勾出下图所示的选区,羽化3个像素后填充白色。取消选区后用涂抹工具把边缘涂抹一下,效果如图。


9、新建一个图层,用钢笔勾出下图所示的路径。转为选区后填充白色。取消选区后用模糊工具稍微模糊一下,添加图层蒙版,用黑色画笔把两端过渡擦出来,效果如图。


10、新建一个图层,同上的方法再制作其它的小光束,过程如图。


11、新建一个图层,用钢笔勾出下图所示的选区,羽化3个像素后填充白色,不透明度改为:40%,效果如下图。

12、新建一个图层,用钢笔勾出下图所示的选区,羽化5个像素后填充白色。取消选区后添加图层蒙版,用黑色画笔把边缘部分的过渡擦出来,再把图层不透明度改为:20%,如图。


13、同上的方法制作右边高光,过程如图。


14、新建一个图层,同上的方法制作顶部的小高光,效果如下图。

15、新建一个图层,同上的方法制作左边较淡的高光,过程如图。


16、新建一个图层,再给顶部加上一块小高光,如下图。

17、感觉底部细节还不够。新建一个图层,用钢笔再加上一些小线条,效果如下图。

最后微调一下细节,完成最终效果。
标签:气泡