气泡看上去挺简单,不过高光与暗部的构成是比较复杂的。首先高光颜色不能太白,在椭圆的中间,边缘等加上淡淡的淡白色,局部可以增加一些白色作为最亮点;暗部区域比较少,制作方法跟高光一样。
最终效果
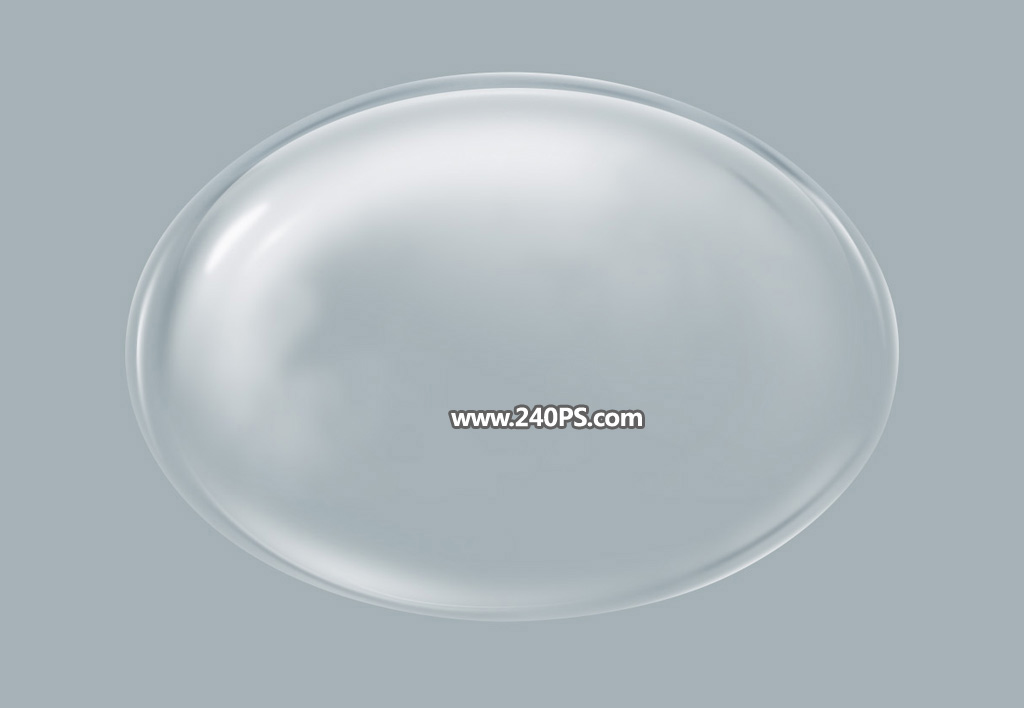
<点图片查看大图>
1、打开PS软件,按Ctrl + N 新建画布,尺寸为1920 * 1080像素,分辨率为72像素/英寸,如下图。

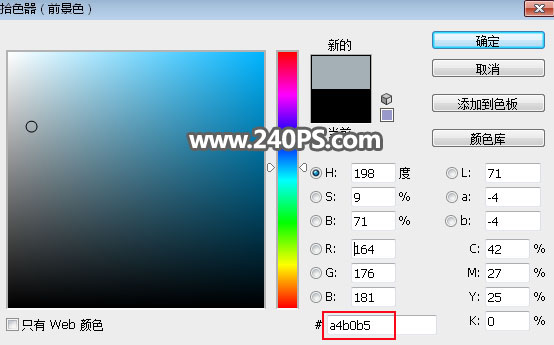
2、把前景色设置为蓝灰色#a4b0b5,然后用油漆桶工具把背景填充前景色。
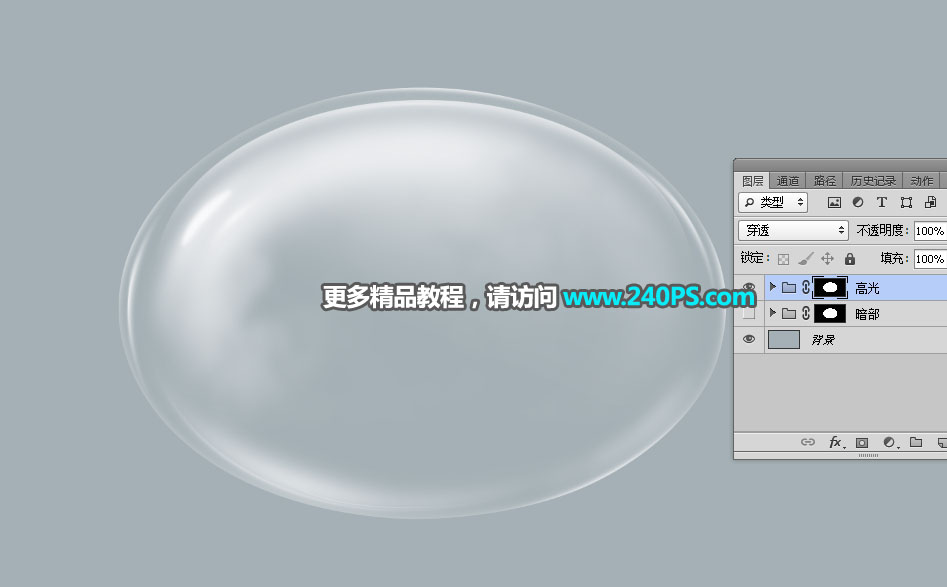
3、先来制作气泡的高光部分,需要完成的效果如下图。
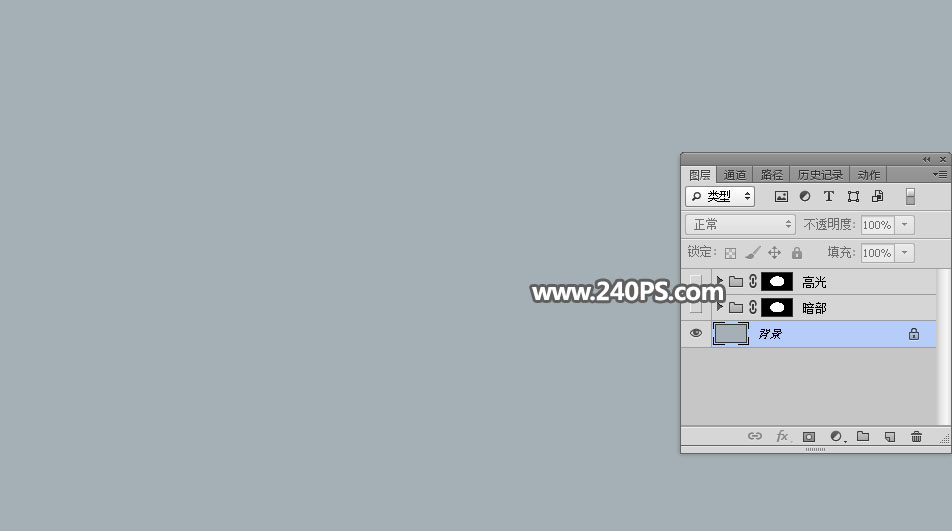
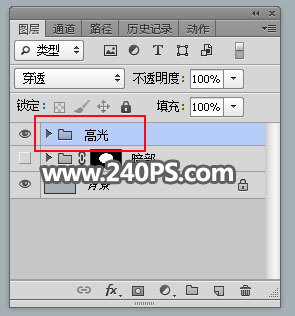
4、新建一个组,命名为“高光”。
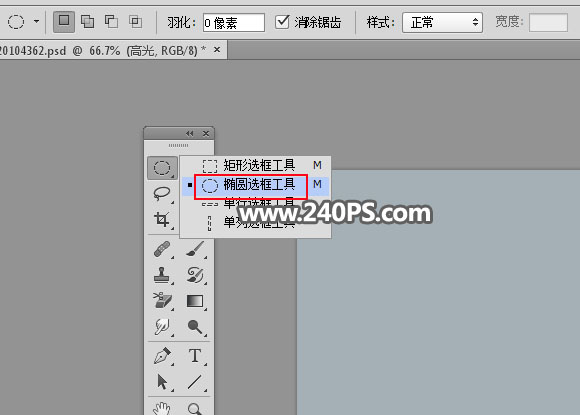
5、在工具箱选择“椭圆选框工具”,羽化设置为0像素。
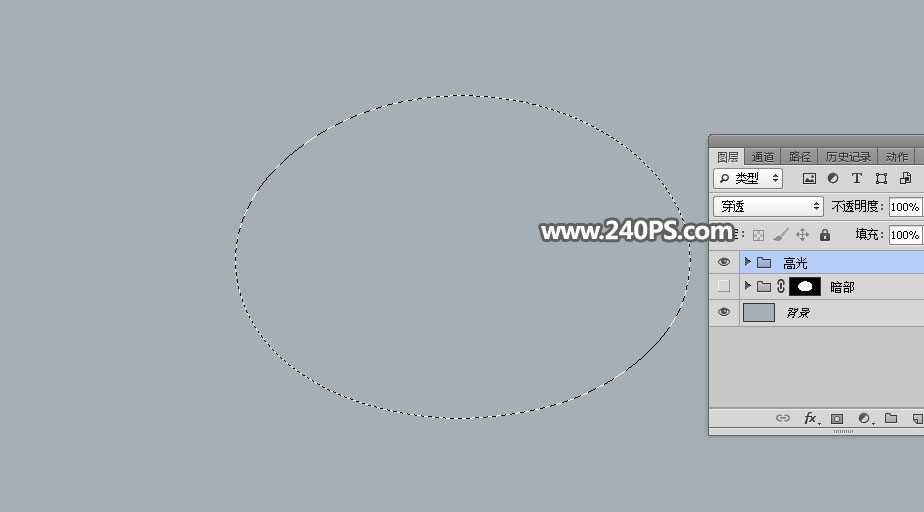
6、用椭圆选框工具拉出下图所示的椭圆选区。
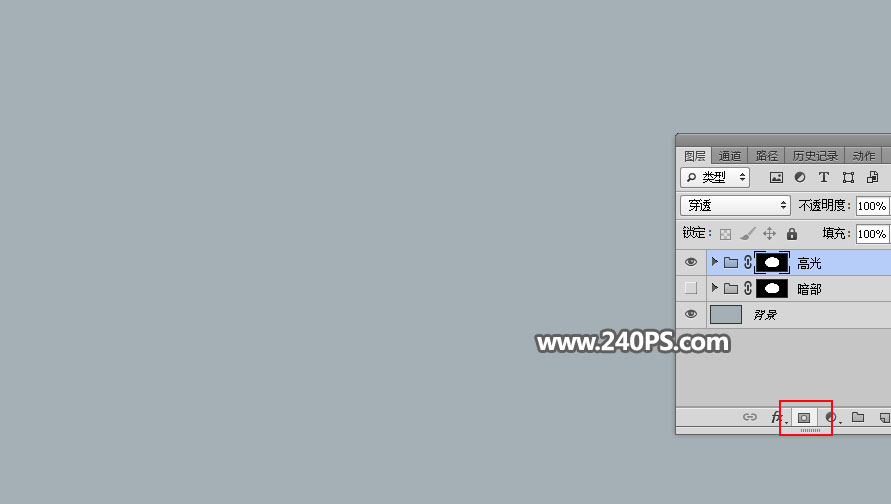
7、点击图层面板下面的蒙版按钮,添加蒙版,如下图。
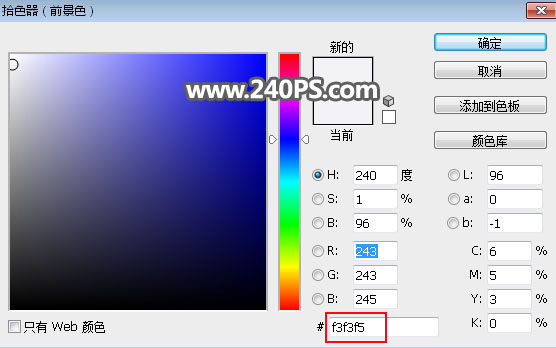
8、设置高光颜色,高光统一用下面的颜色,不是纯白。把前景色设置为淡灰色#f3f3f5。
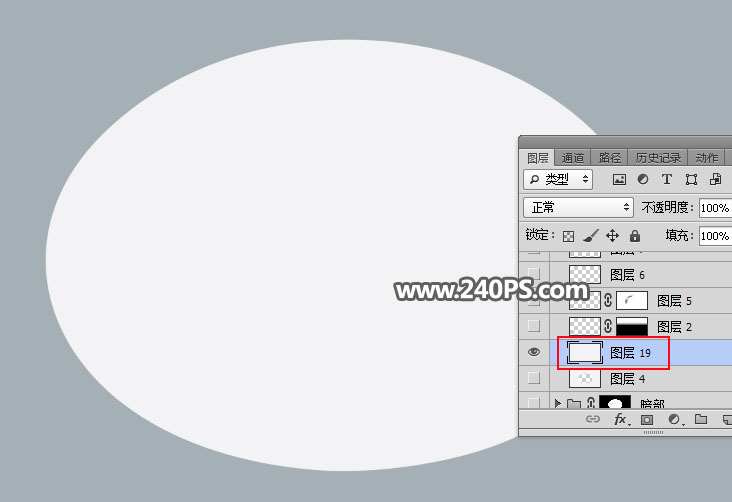
9、在组里新建一个空白图层,用油漆桶工具填充前景色。
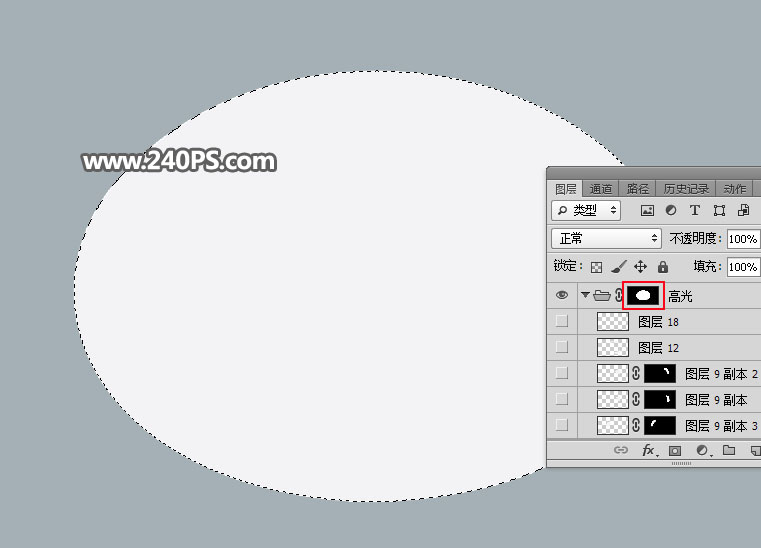
10、按住Ctrl键 + 鼠标左键点击当前组的蒙版缩略图载入选区。
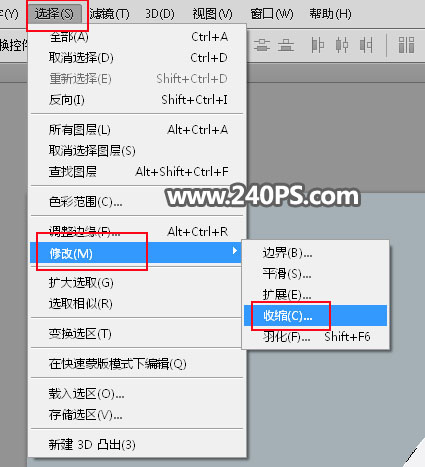
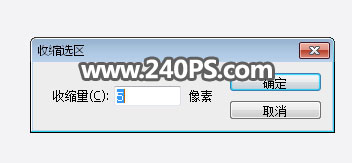
11、选择菜单:选择 > 修改 > 收缩,数值为5。
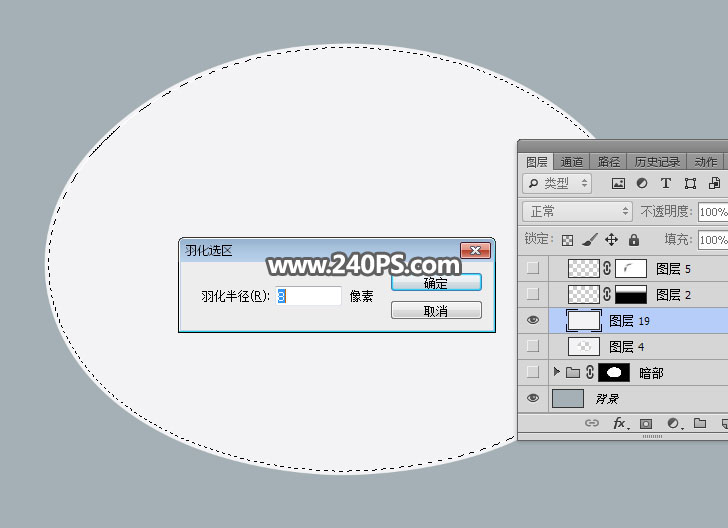
12、按Shift + F6 把选区羽化8个像素。
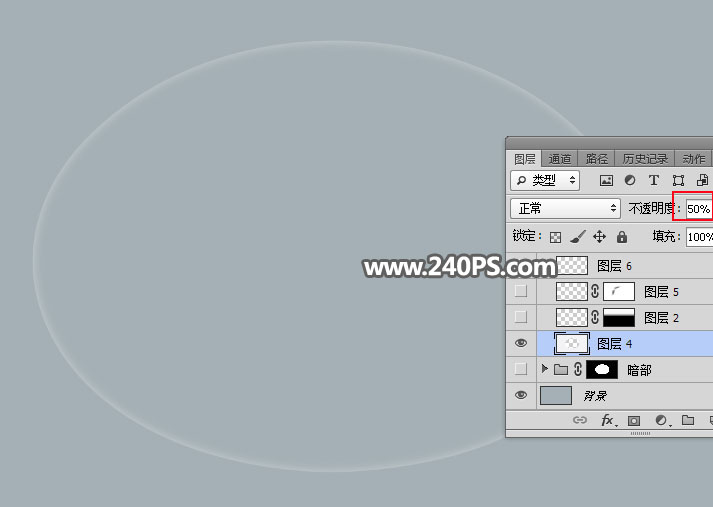
13、按Delete键两次,删除选区部分色块,按Ctrl + D 取消选区,再把图层不透明度改为50%,如下图。
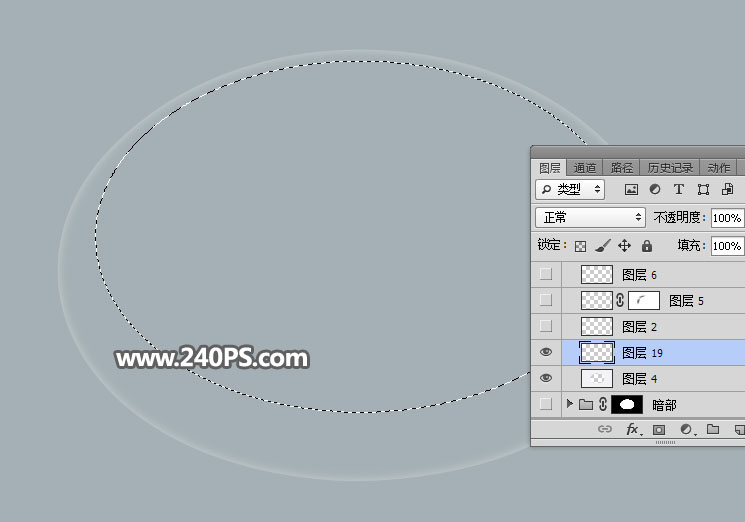
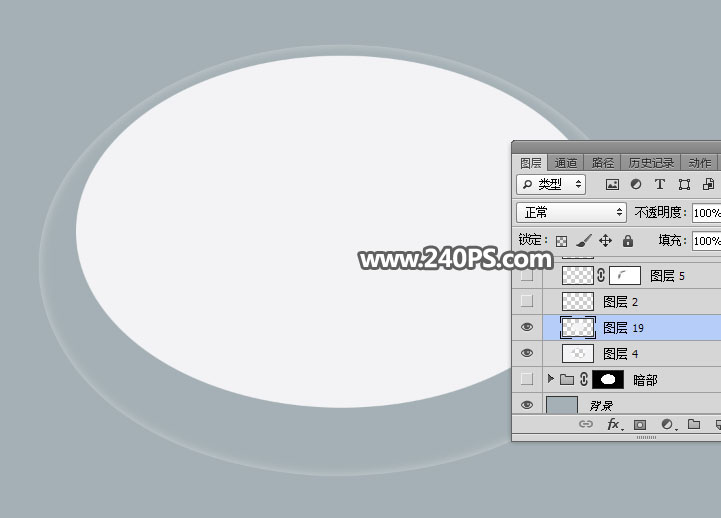
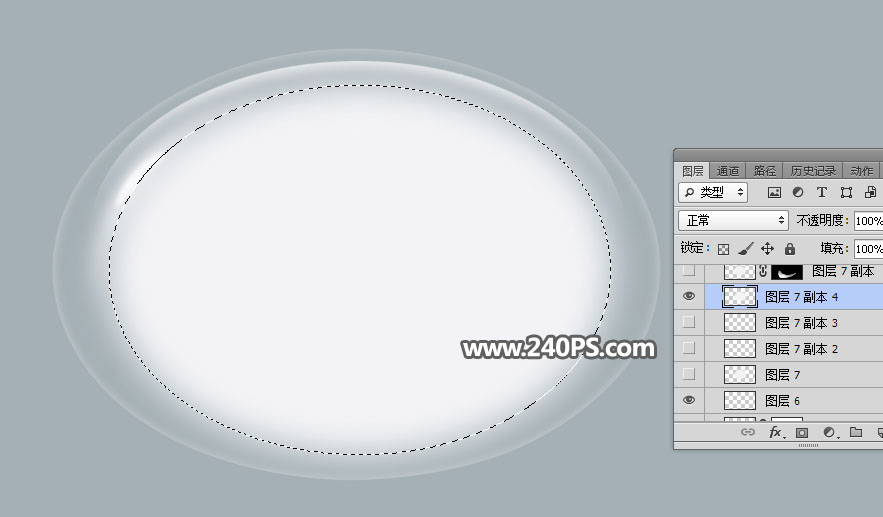
14、新建一个图层,用椭圆选框工具拉出下图所示的选区。
15、用油漆桶工具把选区填充前景色,按Ctrl + D 取消选区,效果如下图。
16、用椭圆选框工具拉出下图所示的选区,并把选区羽化10个像素。
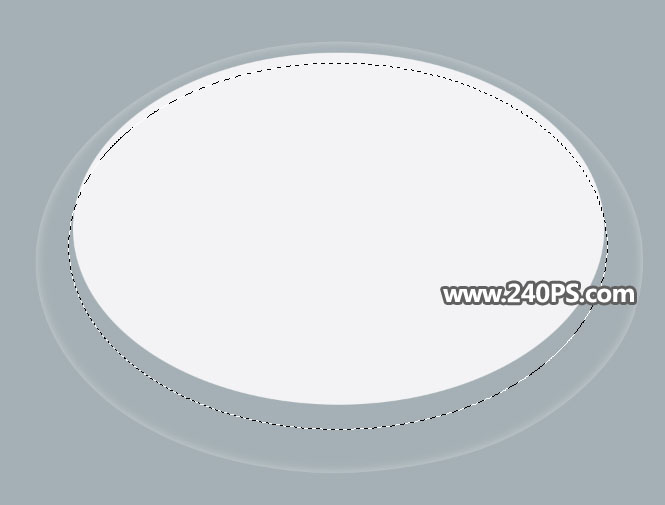
17、按Delete键两次,删除选区部分色块,取消选区后效果如下图。
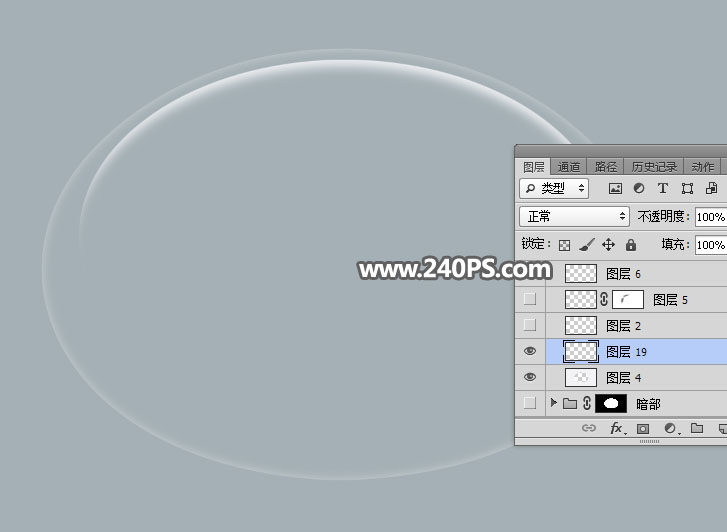
18、新建一个空白图层,用钢笔工具勾出下图所示的选区,羽化5个像素后填充前景色。
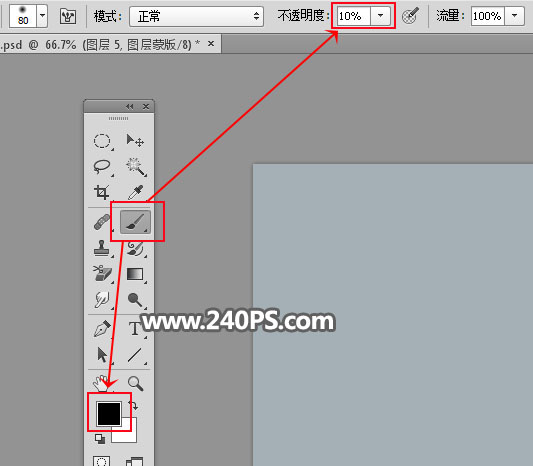
19、取消选区后添加图层蒙版,选择画笔工具,画笔不透明度设置为10%,前景色设置为黑色。
20、用画笔把高光两端过渡涂抹自然,如下图。
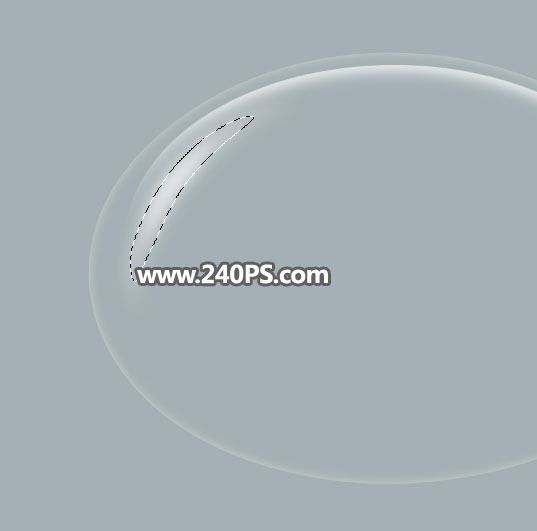
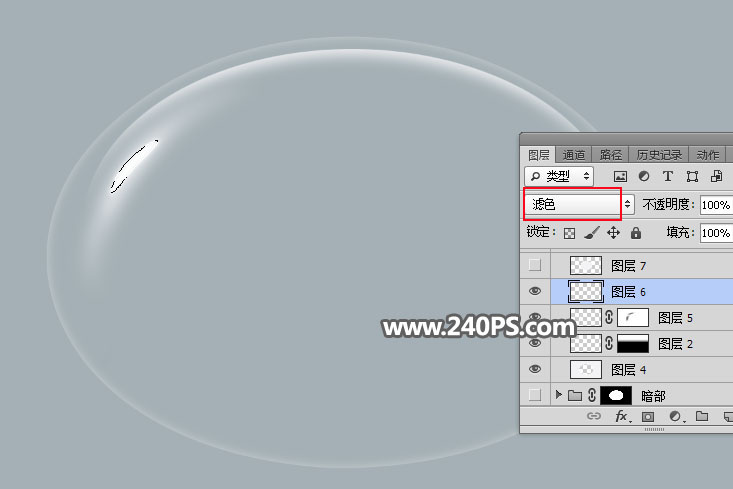
21、新建一个图层,用钢笔工具勾出下图所示的选区,羽化2个像素后填充前景色,取消选区后把混合模式改为“滤色”。
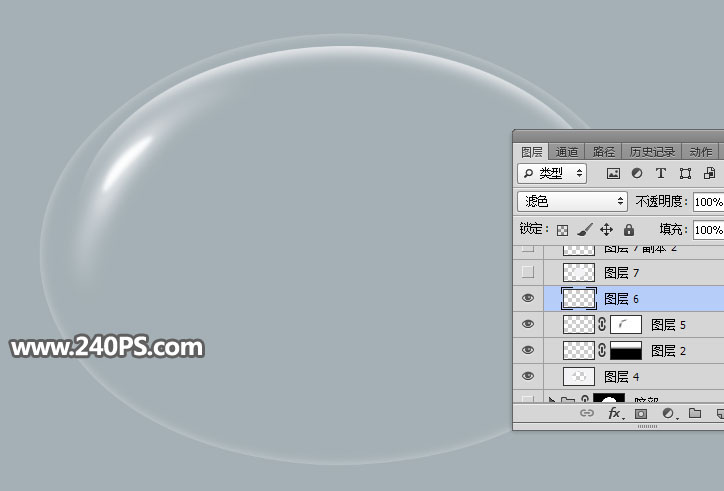
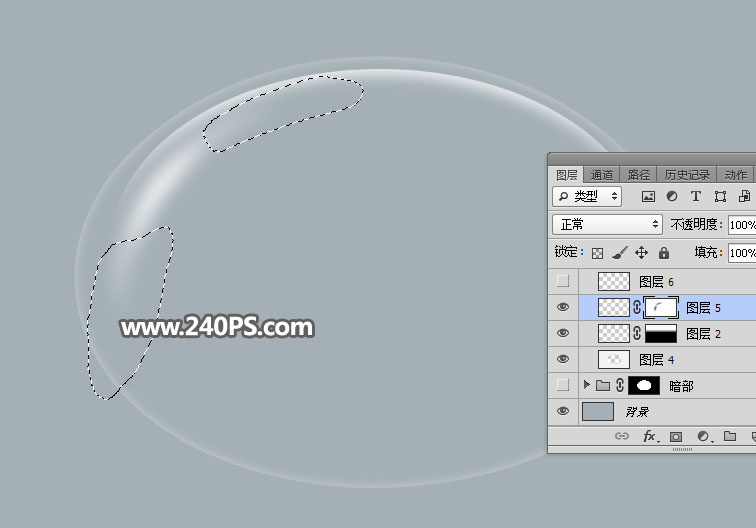
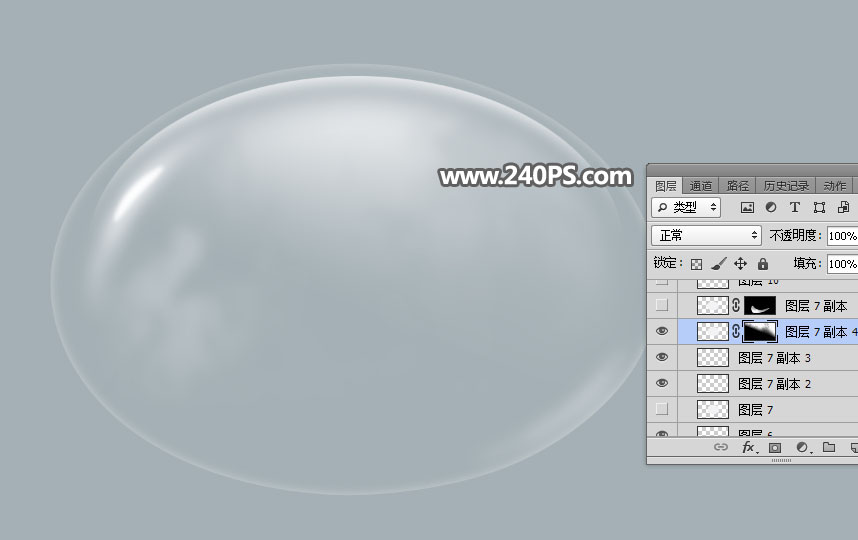
22、新建一个图层,用椭圆选框工具拉出下图所示的选区,羽化40个像素后填充前景色,然后取消选区。
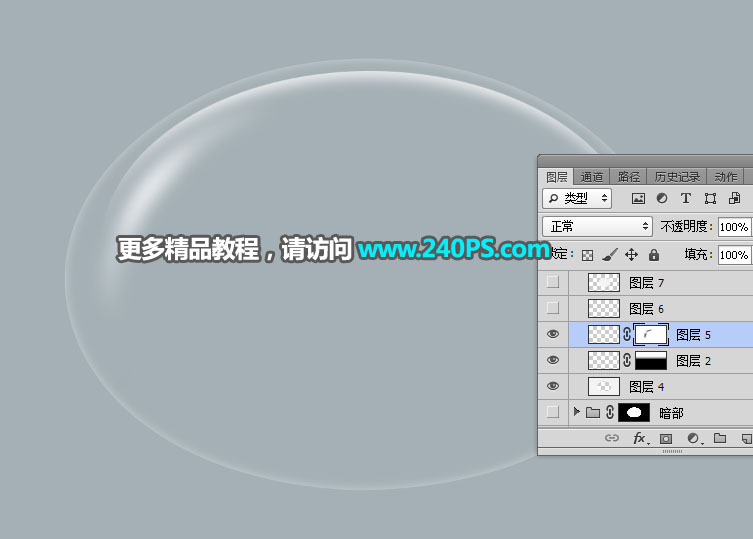
23、添加图层蒙版用刚才设置为画笔擦掉一些不需要的部分,效果如下图。
最终效果

<点图片查看大图>
1、打开PS软件,按Ctrl + N 新建画布,尺寸为1920 * 1080像素,分辨率为72像素/英寸,如下图。

2、把前景色设置为蓝灰色#a4b0b5,然后用油漆桶工具把背景填充前景色。


3、先来制作气泡的高光部分,需要完成的效果如下图。

4、新建一个组,命名为“高光”。

5、在工具箱选择“椭圆选框工具”,羽化设置为0像素。

6、用椭圆选框工具拉出下图所示的椭圆选区。

7、点击图层面板下面的蒙版按钮,添加蒙版,如下图。

8、设置高光颜色,高光统一用下面的颜色,不是纯白。把前景色设置为淡灰色#f3f3f5。

9、在组里新建一个空白图层,用油漆桶工具填充前景色。

10、按住Ctrl键 + 鼠标左键点击当前组的蒙版缩略图载入选区。

11、选择菜单:选择 > 修改 > 收缩,数值为5。


12、按Shift + F6 把选区羽化8个像素。

13、按Delete键两次,删除选区部分色块,按Ctrl + D 取消选区,再把图层不透明度改为50%,如下图。

14、新建一个图层,用椭圆选框工具拉出下图所示的选区。

15、用油漆桶工具把选区填充前景色,按Ctrl + D 取消选区,效果如下图。

16、用椭圆选框工具拉出下图所示的选区,并把选区羽化10个像素。

17、按Delete键两次,删除选区部分色块,取消选区后效果如下图。

18、新建一个空白图层,用钢笔工具勾出下图所示的选区,羽化5个像素后填充前景色。

19、取消选区后添加图层蒙版,选择画笔工具,画笔不透明度设置为10%,前景色设置为黑色。

20、用画笔把高光两端过渡涂抹自然,如下图。


21、新建一个图层,用钢笔工具勾出下图所示的选区,羽化2个像素后填充前景色,取消选区后把混合模式改为“滤色”。


22、新建一个图层,用椭圆选框工具拉出下图所示的选区,羽化40个像素后填充前景色,然后取消选区。

23、添加图层蒙版用刚才设置为画笔擦掉一些不需要的部分,效果如下图。

标签:气泡