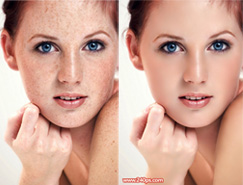
在工作中常常会用到在网上下载的图片,如何将这些图颜色鲜明的显示到你的设计中呢。特别是让它处理的可以成为印刷的图片。请看下面两张图的对比。
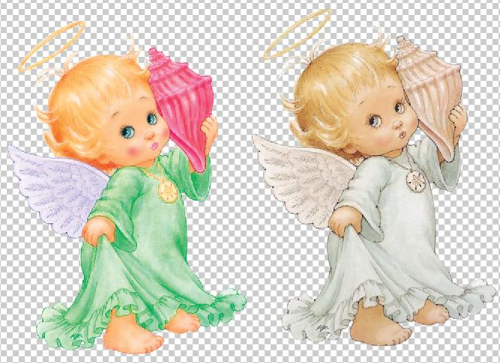
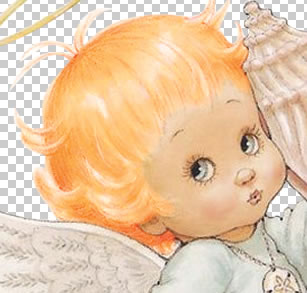
有没有感觉第一个可爱的小天使色彩更显眼、更漂亮些呢?
下面我们来到PHOTOSHOP里面看。
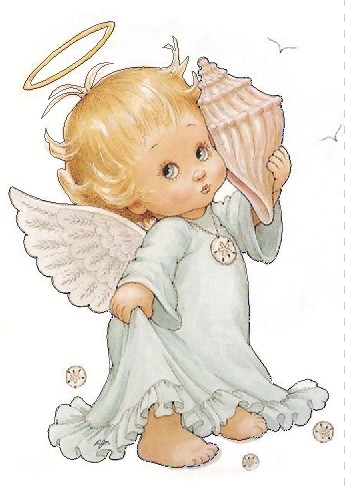
打开小天使的图片:


放到新建350左右
1.用
2.先改头发部分。它主要是金黄色,由M与Y两种颜色,所以我们就把多的C与K去掉,用钢笔工具选中头发部分。
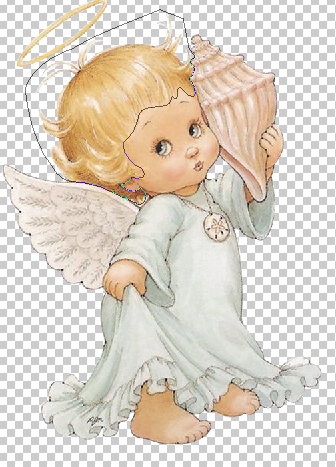
变成选区,CTRL+Enter,要羽化一点。那样到时候不会显得那么生硬。我这里是羽化1。
再来到通道C与K中:
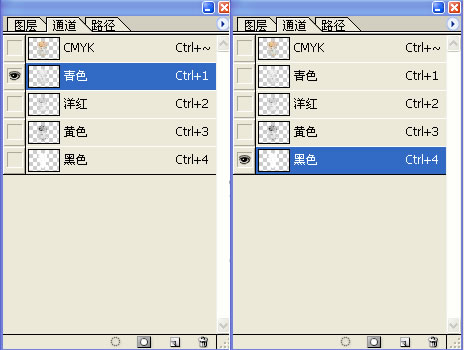
把青色与黑色去掉,看下效果是不是更鲜亮些呢。
那当然头发如果显得太淡了,也可以用加深工具稍加深一些要加深的地方。
标签:通道