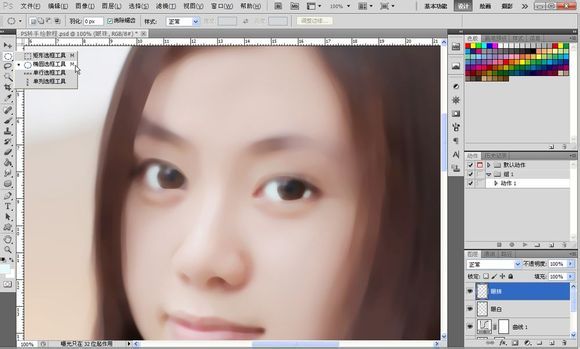
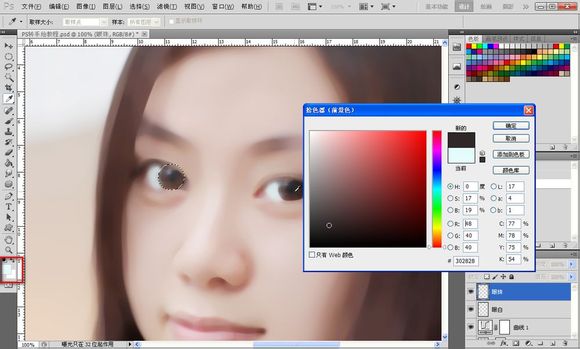
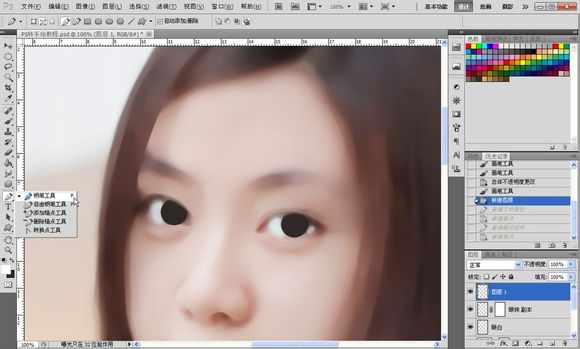
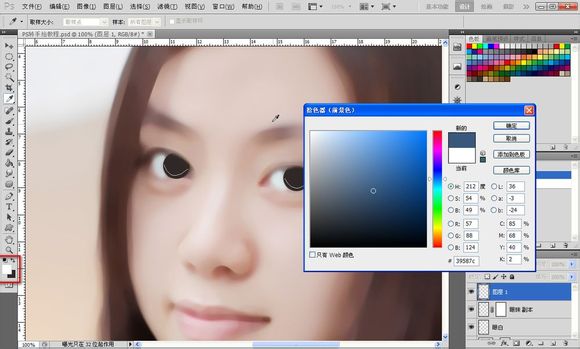
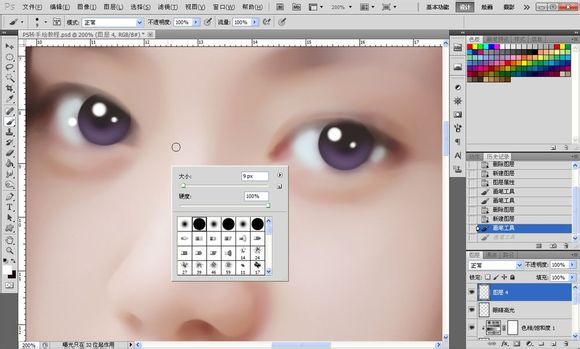
7、眼珠:
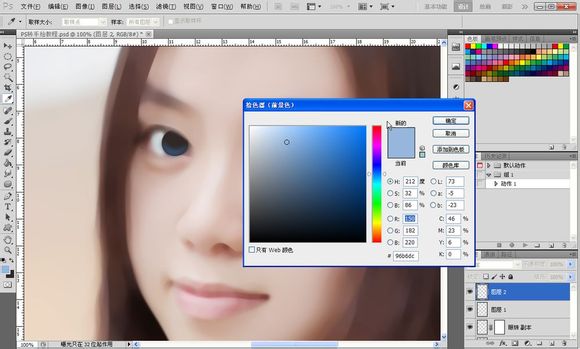
如图所示选择【椭圆选框工具】按住键盘上的【shift+alt】规则拉出一个圆,如图所示羽化3像素,选择一个比较深的颜色,接近黑色的颜色。按键盘上的【alt+delete填充前景色】如图所示,接着复制眼珠图层把另外一只眼珠也做出来。
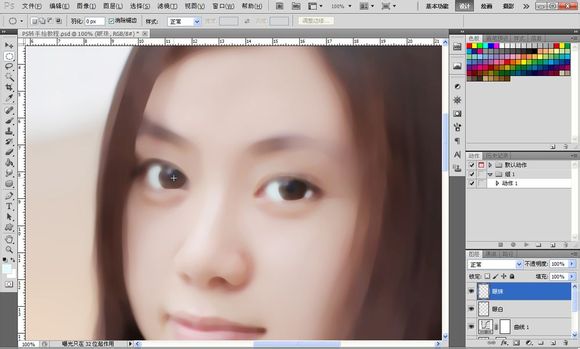
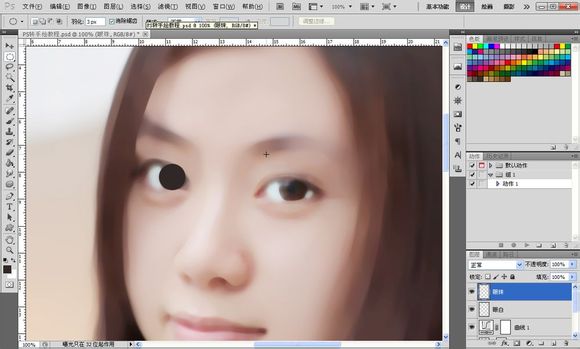
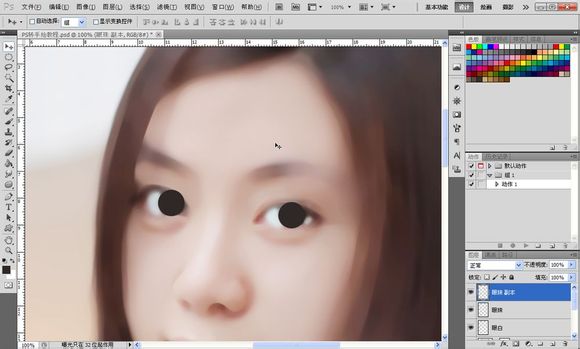

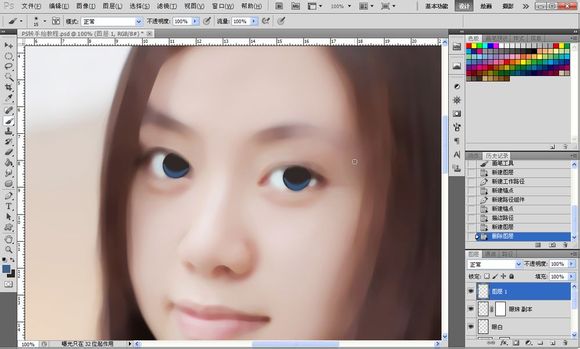
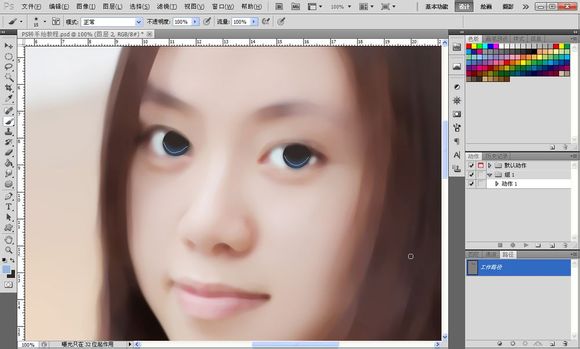
8、添加蒙版降低图层透明度把多余的部分擦掉,如图所示。

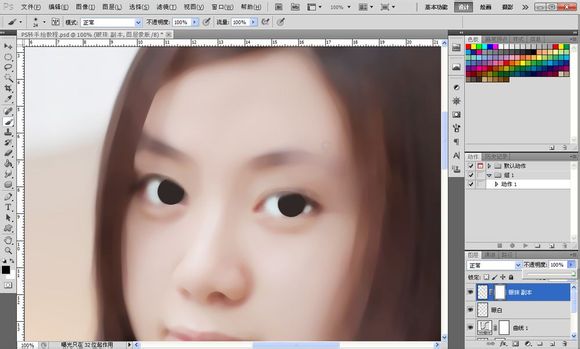
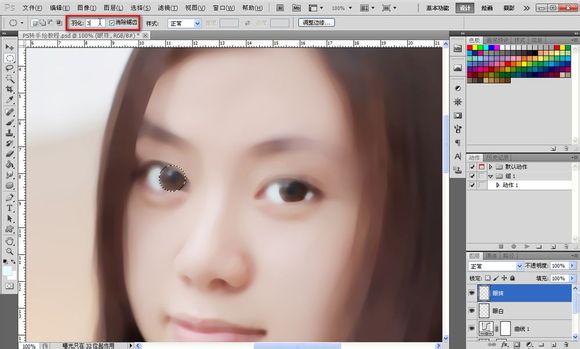
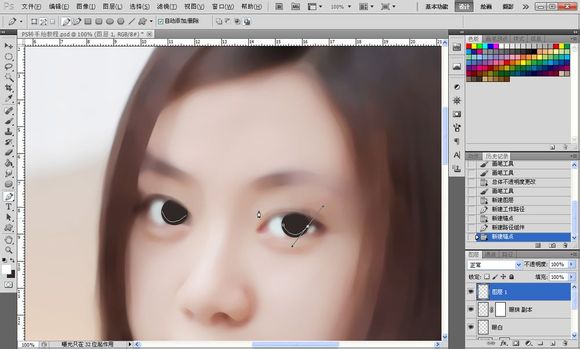
9、晶状体:
接着新建图层用【钢笔工具】勾出如图所示路径,两个眼睛都要勾如图所示。

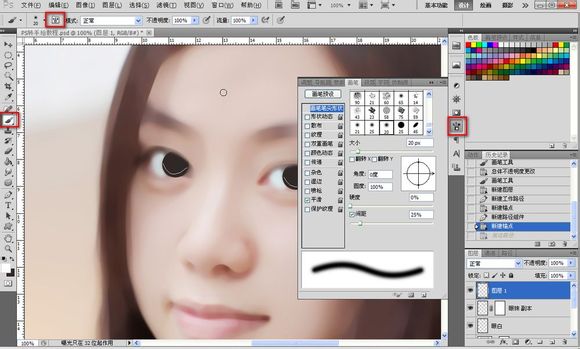
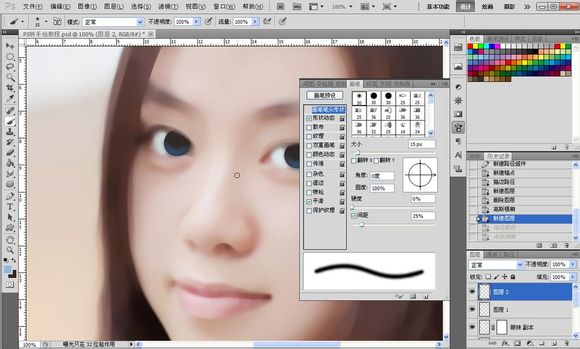
10、如图所示设置画笔的数值,一般我都是用20
【形状动态】勾上,钢笔压力一般我都是20%,直径越小,出来的线段两头越尖,接着选择一个中性色,如图所示,色相无关系,后期可以变换,之后选择所有晶状体图层,按【ctrl+e】把图层合并成一个。
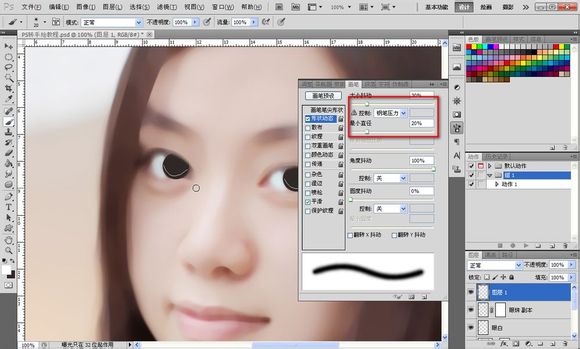
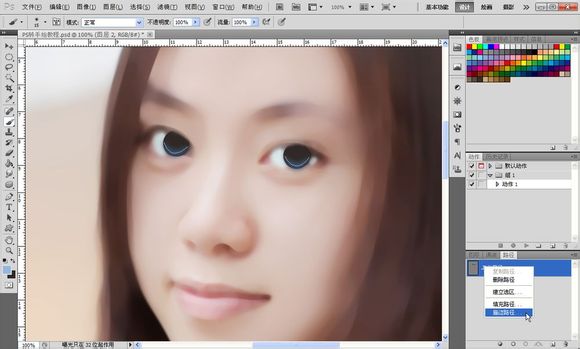
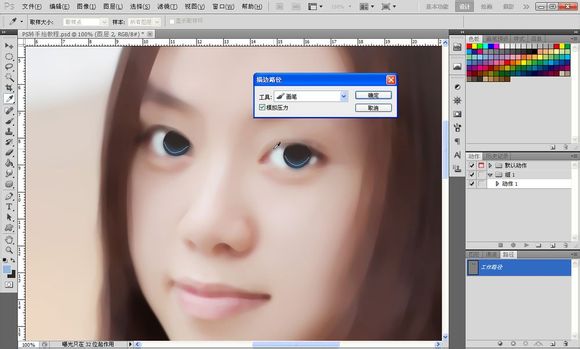
11、选择画笔工具,点击图层面板的路径,右键工作路径,路径双击可以储存。选择描边路径,勾选模拟压力,如图所示,效果如图所示。
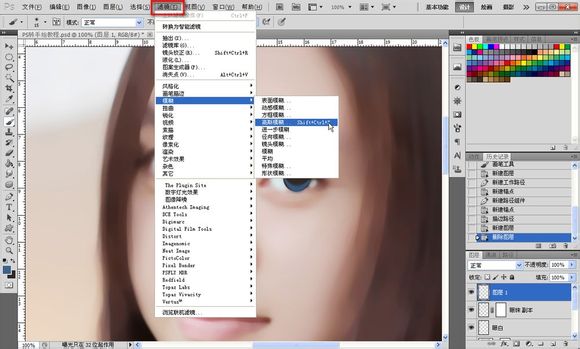
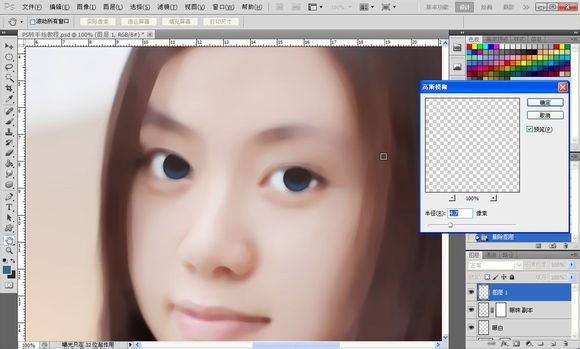
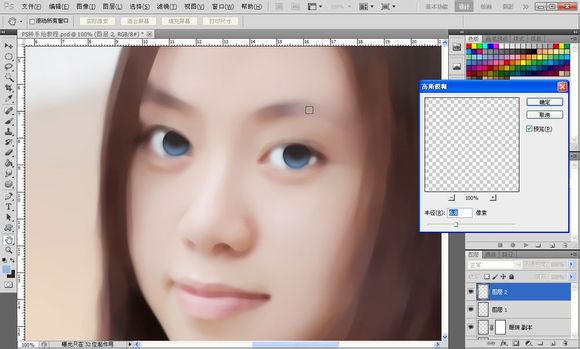
接着【滤镜】-【模糊】-【高斯模糊】数值自定,达到一种融合的效果即可,如图所示。


12、重复之前的步骤,降低画笔的数值,颜色由深变浅,高斯模糊,一共做3次,如图所示。

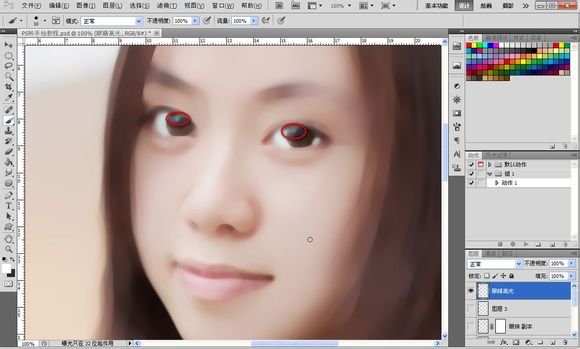
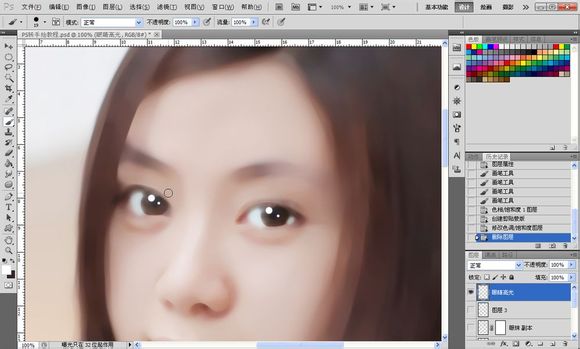
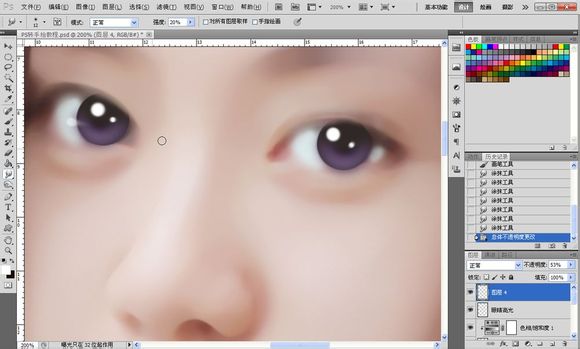
13、眼睛高光:
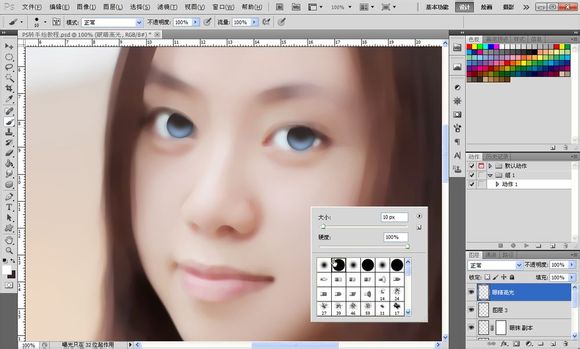
高光可以令眼睛变有神,选择画笔工具,用硬度100%的画笔,选择纯白色,大小自定。如果不知道高光在哪里可以把晶状体,眼珠图层关闭如图所示,效果如图所示。
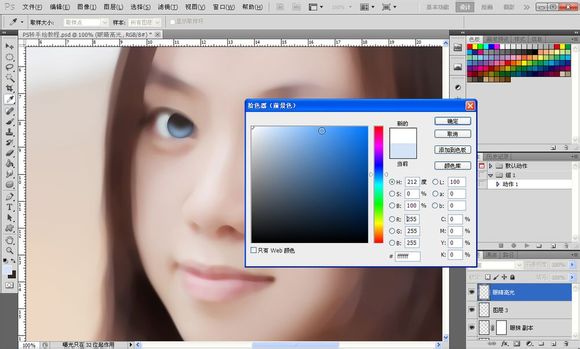
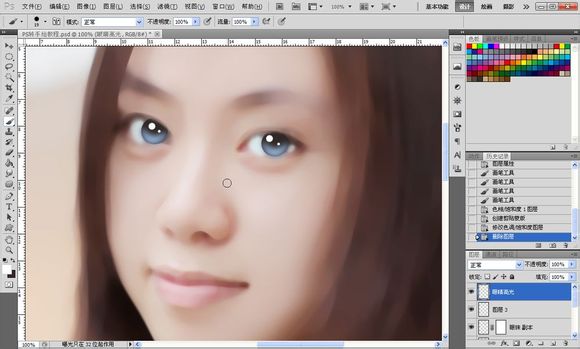
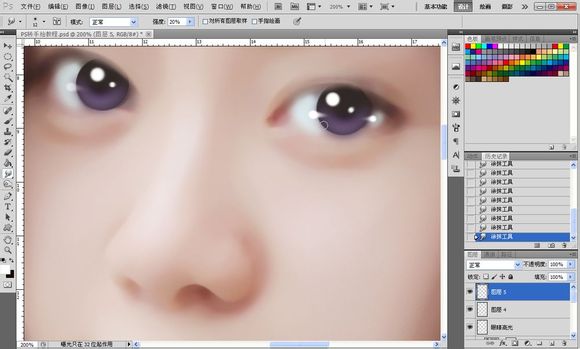
14、之后我加了一个色相饱和度调整图层,把眼睛的颜色改变了,继续加高光,新建图层,如图所示点个小点,之后用涂抹工具涂抹出一条小尾巴,降低透明度,右眼一样,为了让眼睛更加立体。


标签:手绘效果