转手绘的基本方法差不多,差别在于一些细节的处理,如发丝、五官、高光等,处理到位的话整体效果非常干净有质感,也非常细腻。
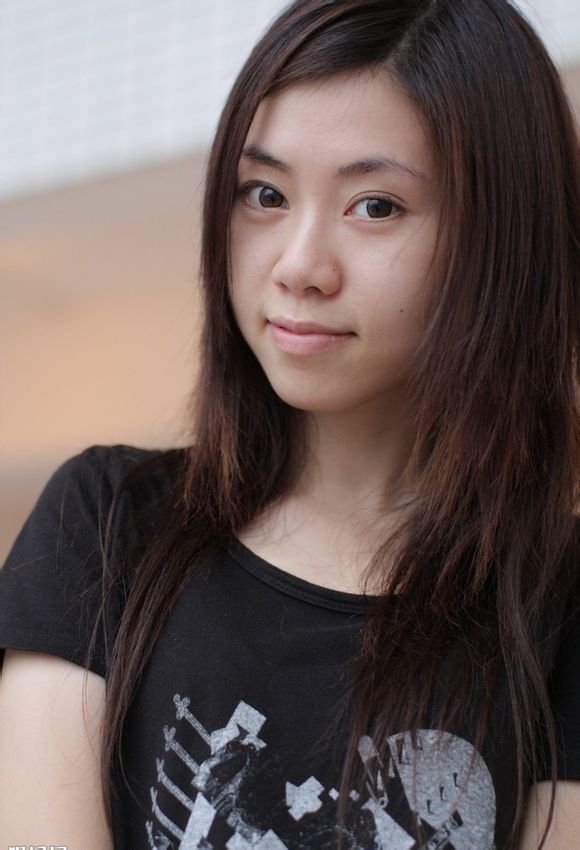
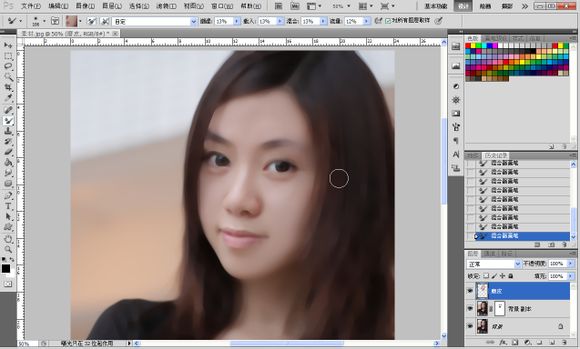
原图
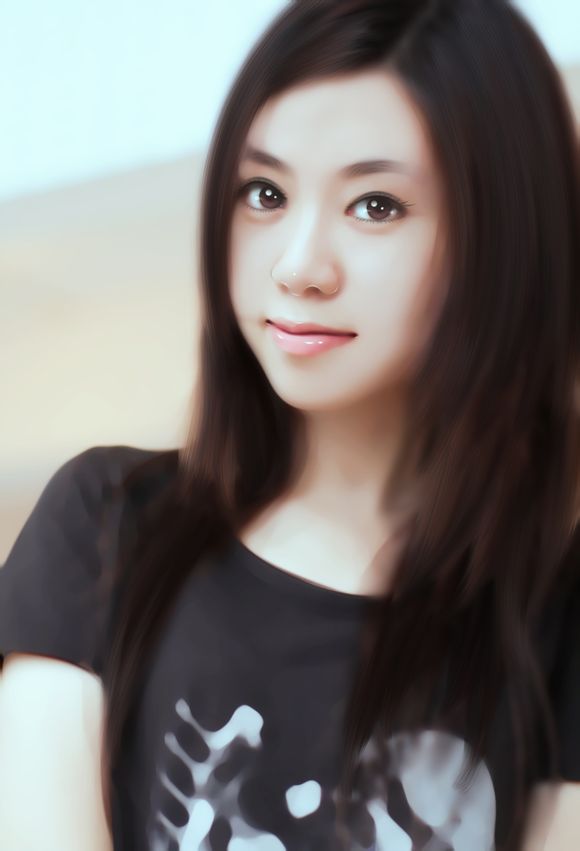
最终效果
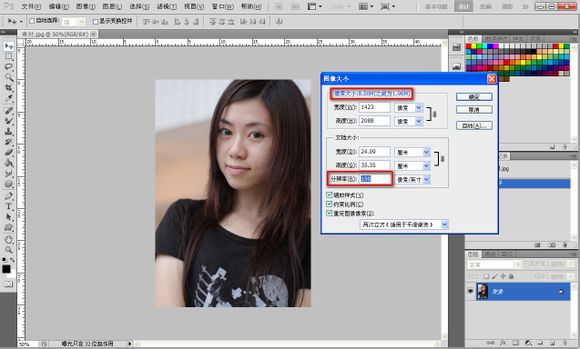
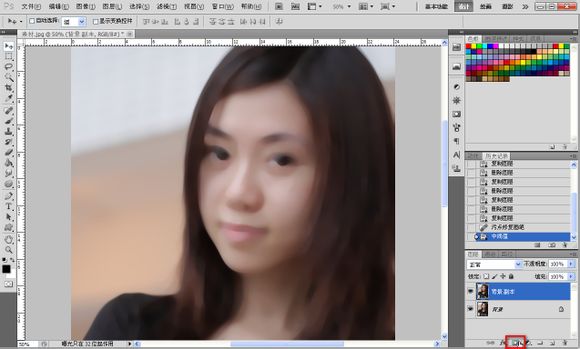
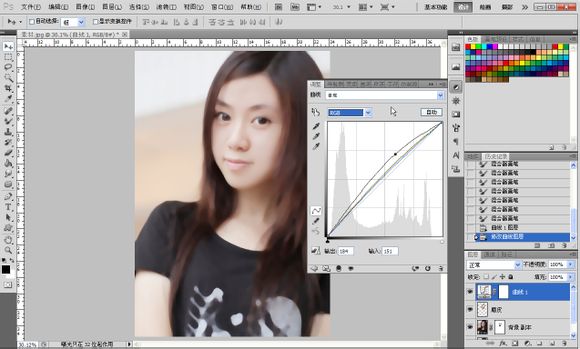
1、改变图片的分辨率-【图像】-【图像大小】不一定要300的,看文件大小那里,大概到9和10MB左右就够了,如图所示。
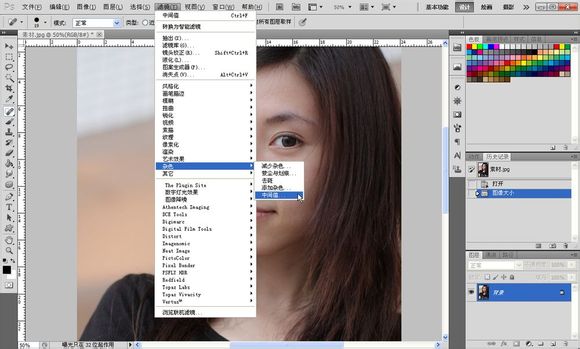
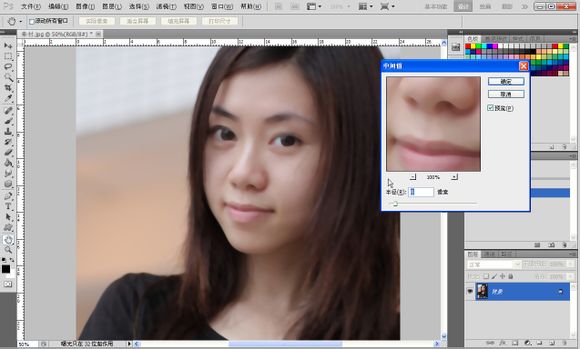
2、接着我们给皮肤磨下皮,【滤镜】-【杂色】-【中间值】,数值不用很大,最好是能看到轮廓而且能把脸上的一些瑕疵遮住就最佳,这个自己把握。
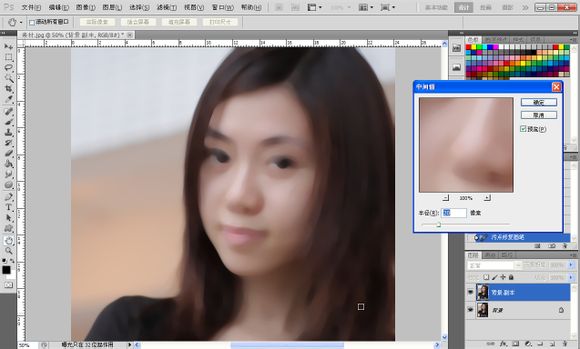
之后我们把背景图层如图复制一层再执行一次中间值,这次数值大一点,大概就如下面图片那样。
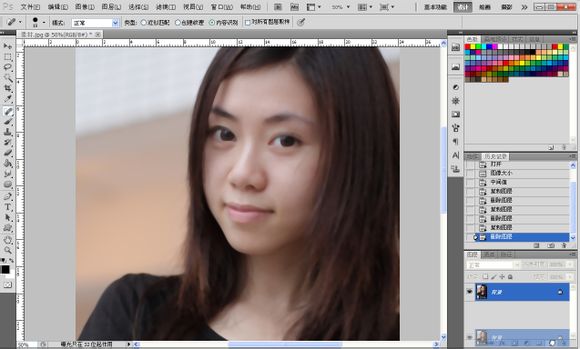
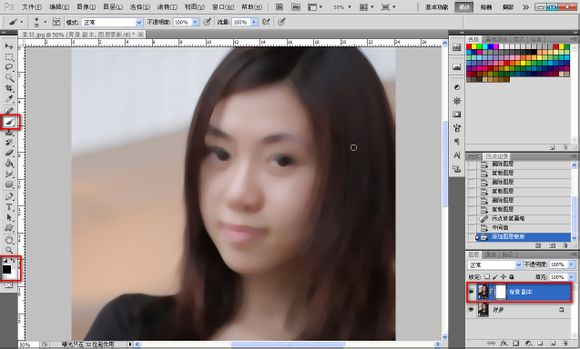
3、接着如图添加图层蒙版,按键盘上的D键还原背景色,前景色为黑色,切换到画笔工具之后点击图层蒙版把人物的五官擦出来如图所示。
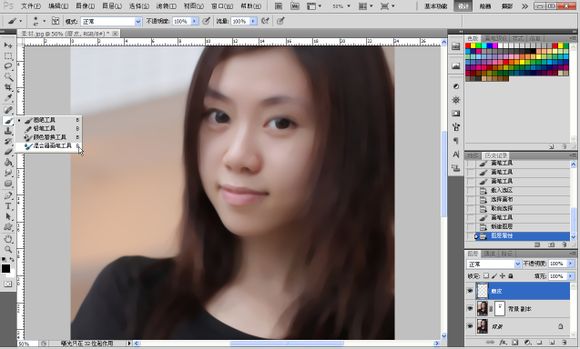
4、因为觉得皮肤还是不怎么好,所以新建一个图层起名磨皮,选择混合画笔工具,这算是个偏方吧,设定值大概如图所示。
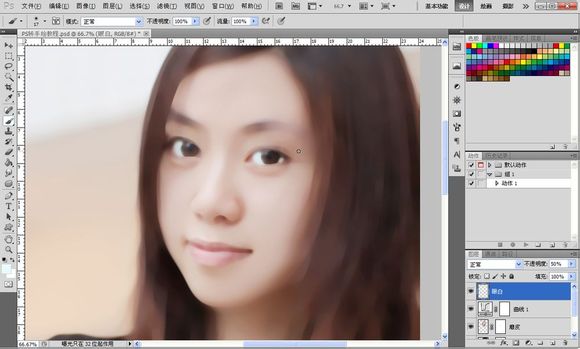
之后按着键盘的alt键对着人物的皮肤点一下,之后慢慢涂抹皮肤,注意不要涂到五官,涂错就添加蒙版擦除,这里我不想把卧蚕给涂掉,有卧蚕的眼睛会更有眼睛,当然原图没有的话就不要特意去加了,对比一下。
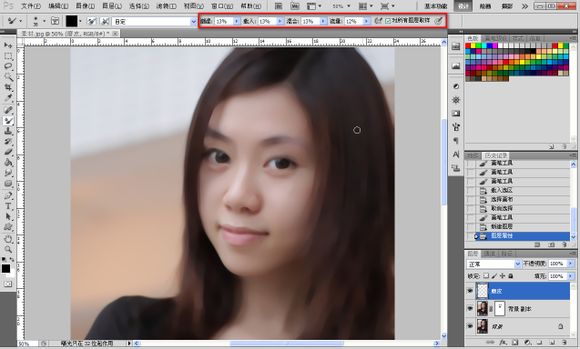

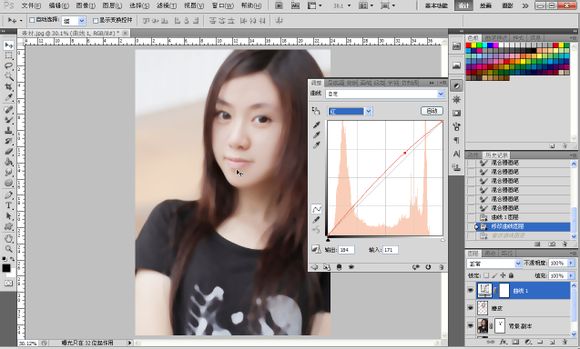
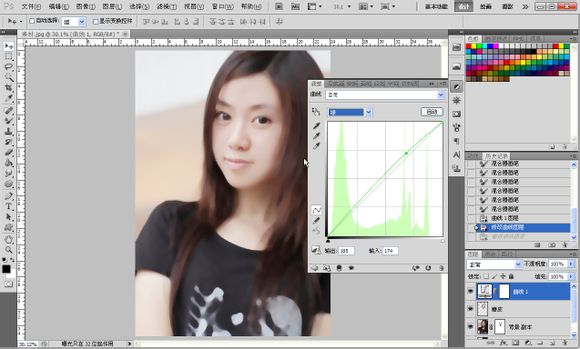
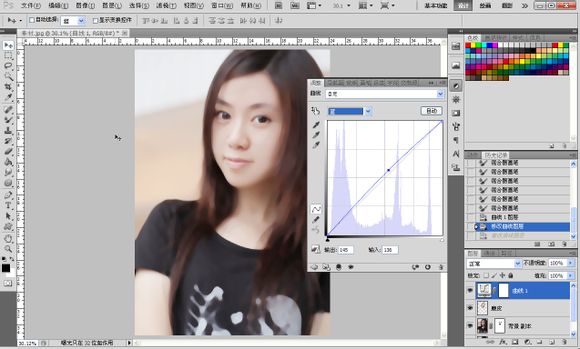
5、接着高大上的曲线来了,把亮度颜色调一下,如图所示。只是大概调一下,后面我们可以再次调整,皮肤的处理到现在告一段落。
6、眼睛部分:
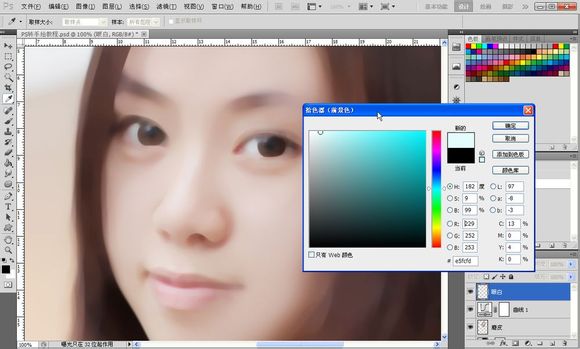
首先先弄眼白,【新建图层】命名:眼白。选择如图所示颜色,大概就行,不要纯白色,记住除高光之外都不要用纯色,纯色会显得很生硬,用【画笔工具】在人物眼白部分涂抹,之后降低图层透明度,眼白部分结束。
原图

最终效果

1、改变图片的分辨率-【图像】-【图像大小】不一定要300的,看文件大小那里,大概到9和10MB左右就够了,如图所示。

2、接着我们给皮肤磨下皮,【滤镜】-【杂色】-【中间值】,数值不用很大,最好是能看到轮廓而且能把脸上的一些瑕疵遮住就最佳,这个自己把握。
之后我们把背景图层如图复制一层再执行一次中间值,这次数值大一点,大概就如下面图片那样。


3、接着如图添加图层蒙版,按键盘上的D键还原背景色,前景色为黑色,切换到画笔工具之后点击图层蒙版把人物的五官擦出来如图所示。


4、因为觉得皮肤还是不怎么好,所以新建一个图层起名磨皮,选择混合画笔工具,这算是个偏方吧,设定值大概如图所示。
之后按着键盘的alt键对着人物的皮肤点一下,之后慢慢涂抹皮肤,注意不要涂到五官,涂错就添加蒙版擦除,这里我不想把卧蚕给涂掉,有卧蚕的眼睛会更有眼睛,当然原图没有的话就不要特意去加了,对比一下。


5、接着高大上的曲线来了,把亮度颜色调一下,如图所示。只是大概调一下,后面我们可以再次调整,皮肤的处理到现在告一段落。


6、眼睛部分:
首先先弄眼白,【新建图层】命名:眼白。选择如图所示颜色,大概就行,不要纯白色,记住除高光之外都不要用纯色,纯色会显得很生硬,用【画笔工具】在人物眼白部分涂抹,之后降低图层透明度,眼白部分结束。


标签:手绘效果