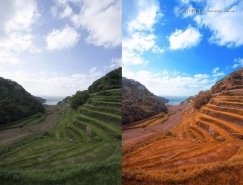
树林图片非常适合制作梦幻效果。过程:先提取高光区域并复制出来,用径向模糊滤镜做出透射光效果,然后调出想要的主色,后期再增加一点装饰元素即可。
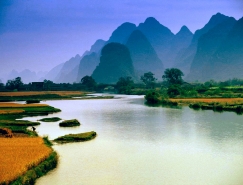
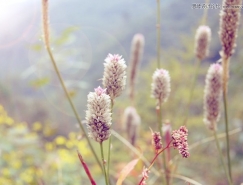
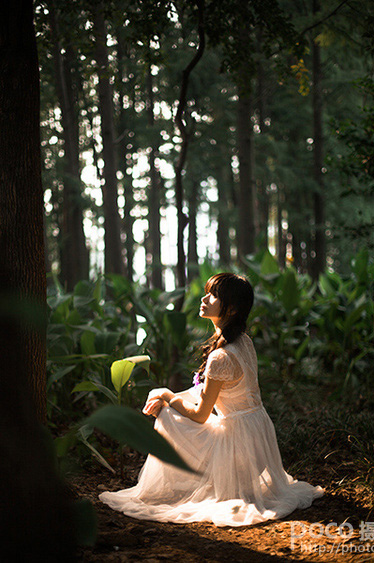
原图
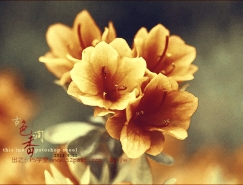
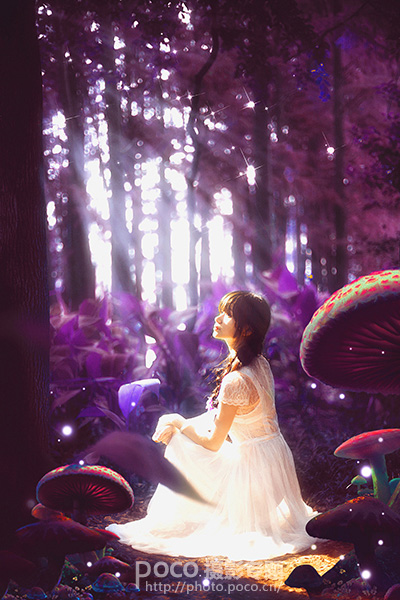
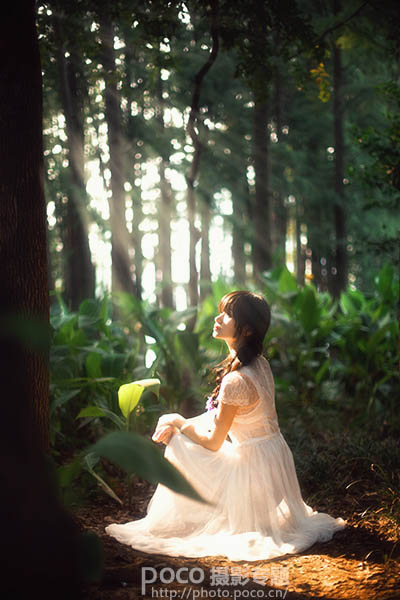
最终效果
1、执行选择——色彩范围——选取树林中白色区域(颜色容差随意,看具体照片来定,保证白色区域能选够即可)。

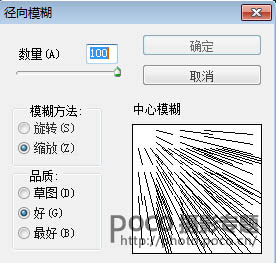
2、确定后得到一个选区,CTRL+C复制,CTRL+V粘贴,得到新图层。然后执行滤镜——模糊——径向模糊(如果希望光从右边照射,将中心模糊调整方向即可)。
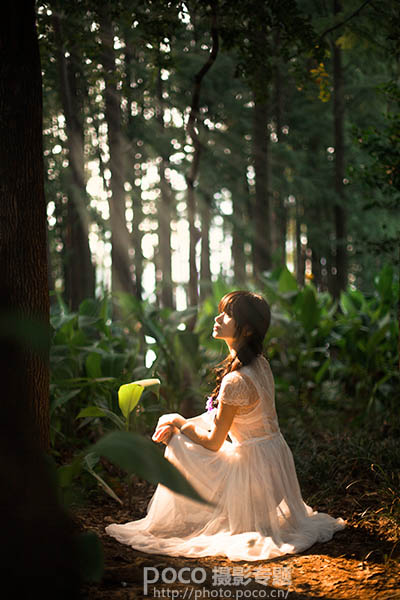
3、完成这步后,就有明显的圣光了,擦掉穿帮的地方,降低图层透明度让过度自然,也可进行高斯模糊来柔和光线。
4、圣光效果达到后,再给照片来一个柔焦效果。SHIFT+CTRL+ALT+E 盖印图层,高斯模糊80个数值,图层模式滤色,透明度20%;复制一层,图层模式改成柔光,透明度60%。
5、然后给背景换颜色,替换颜色是调色神器!执行图像——调整——替换颜色(倒数第二个)。

原图

最终效果

1、执行选择——色彩范围——选取树林中白色区域(颜色容差随意,看具体照片来定,保证白色区域能选够即可)。

2、确定后得到一个选区,CTRL+C复制,CTRL+V粘贴,得到新图层。然后执行滤镜——模糊——径向模糊(如果希望光从右边照射,将中心模糊调整方向即可)。

3、完成这步后,就有明显的圣光了,擦掉穿帮的地方,降低图层透明度让过度自然,也可进行高斯模糊来柔和光线。

4、圣光效果达到后,再给照片来一个柔焦效果。SHIFT+CTRL+ALT+E 盖印图层,高斯模糊80个数值,图层模式滤色,透明度20%;复制一层,图层模式改成柔光,透明度60%。

5、然后给背景换颜色,替换颜色是调色神器!执行图像——调整——替换颜色(倒数第二个)。

6、调完色后,创建蒙版,把人物擦出来。


7、加上蘑菇素材,将素材调色,高光阴影与环境相融合,然后也可以 画一些发光的星点。

8、最后整体调色。

最终效果:
标签:调色教程