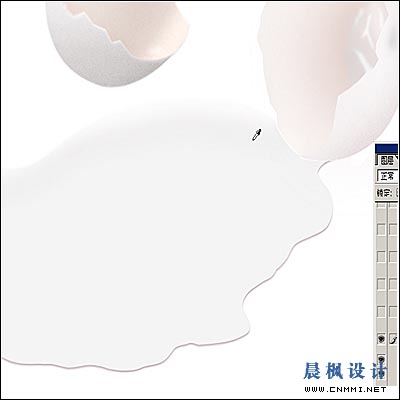
9.用(R:244 G:244 B:244)填充:

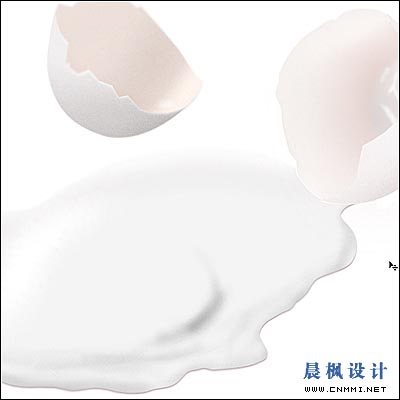
10.保留选区,在下面新建一层,用(R:193 G:179 B:176)填充,并将该层向下,右,移动各2像素:
11.用“加深减淡”工具涂抹:
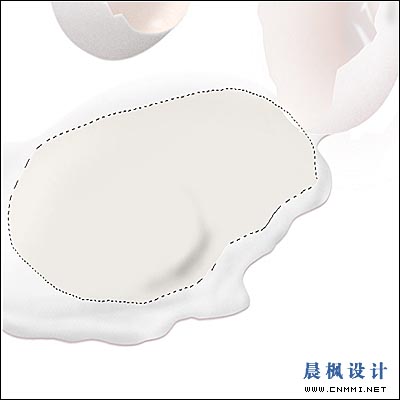
12.用钢笔勾出如下选区用(R:227 G:218 B:210)填充,并将该层透明度设为35%
标签:制作
9.用(R:244 G:244 B:244)填充:
10.保留选区,在下面新建一层,用(R:193 G:179 B:176)填充,并将该层向下,右,移动各2像素:
11.用“加深减淡”工具涂抹:
12.用钢笔勾出如下选区用(R:227 G:218 B:210)填充,并将该层透明度设为35%