在主体层上新建一层,命名白塑料。用钢笔工具钩出形状并转换为选区后填充RGB值为:160.190.215的颜色。
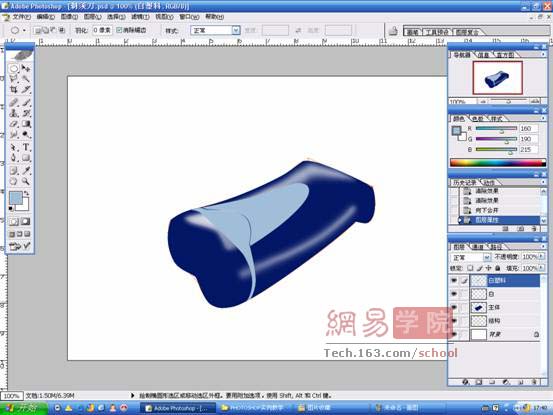
双击该层,在图层样式中选择斜面和浮雕,调整好深度、和大小,如图所示。
用加深和减淡工具在该层上涂出大体明暗。
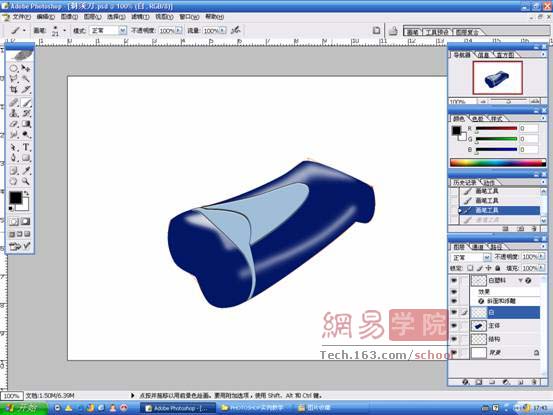
新建图层,用钢笔工具画出刀头突出的部分线条。用像素较少、硬度较高的白色画笔描边路径。
然后用硬度和不透明度较低的橡皮擦工具擦掉多余和比较暗的部分。

剃须刀的雏形基本就出来了。
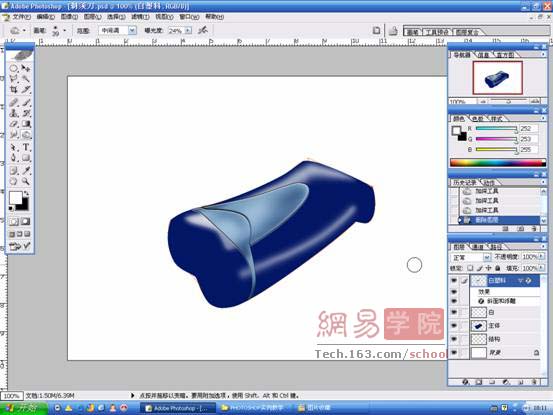
下面是点睛之笔----刀头,一定要细致。
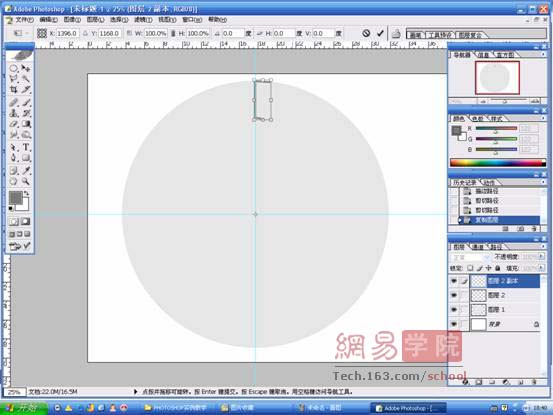
新建文件,名为刀头。新建图层,用圆形选框工具拉出正圆,填充RGB值均为:230的颜色。
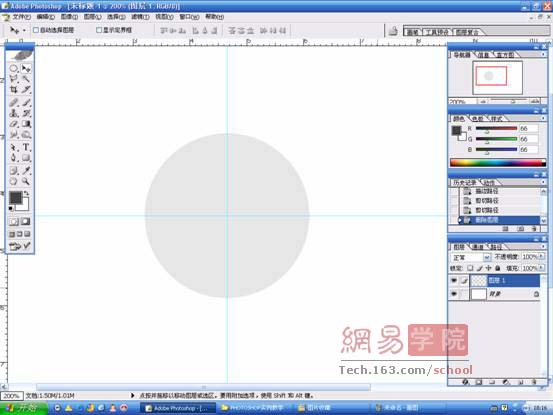
新建图层,画上如下图形

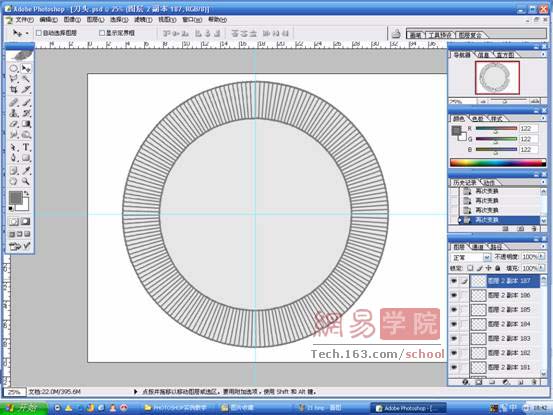
复制一层,CTRL+T自由变换,将物体中心点拉到圆的圆心。
旋转后如图

同时按住CTRL\ALT\SHIFT三键再按T,N次后得到如下效果:
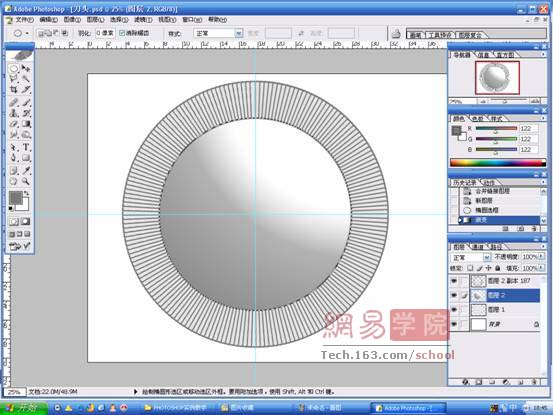
合并复制出的图层,拉出中间的同心圆选区。填充径向渐变入下效果
标签:鼠绘