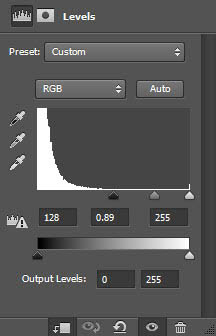
色阶:
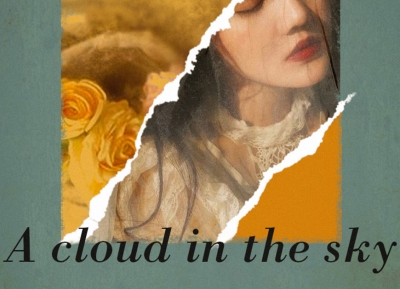
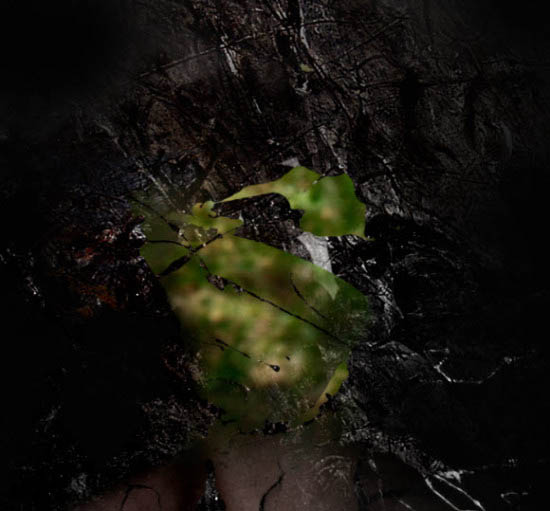
下图是到了目前的人像的效果:

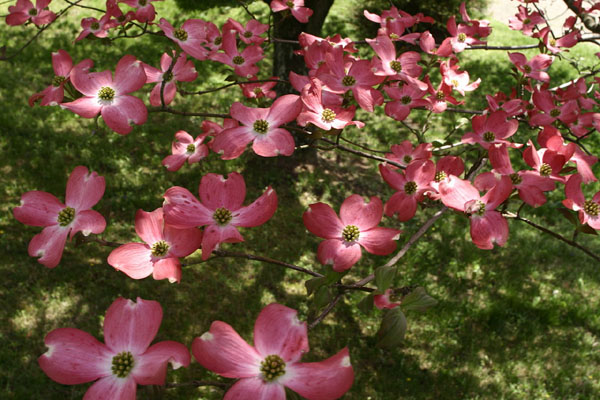
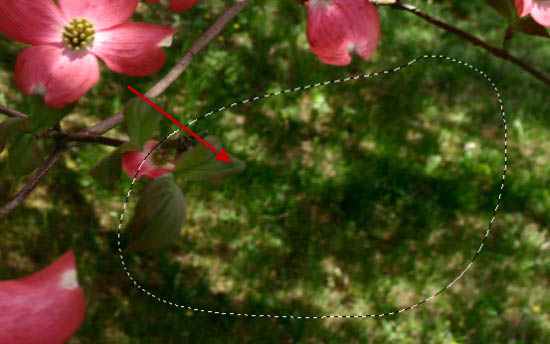
10、在这一步中,我们主要做的就是在人脸区域添加“鲜花”素材。同前两步一样,先在Photoshop中打开“鲜花”素材,然后使用套索工具选择下图所示的区域(羽化值为40px)。
11、复制并粘贴该区域到我们的文件中,如下图所示一般调整该区域的大小。

12、将该图层设置为“模特”脸部的剪贴蒙版(将该图层放置于此前的调整图层上方)。
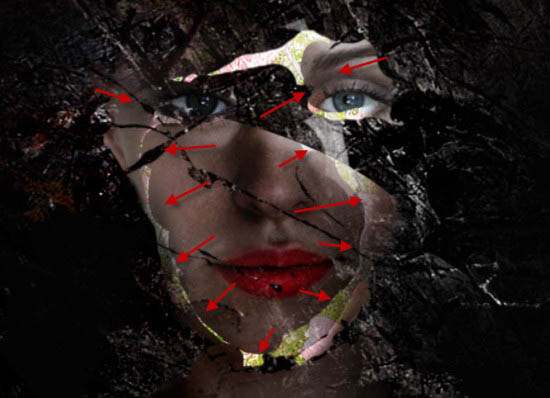
13、使用一个很小、硬的橡皮擦,来去除下图所示的区域,主要是“鲜花”素材的绿色部分,使得“模特”的脸能够露出来。
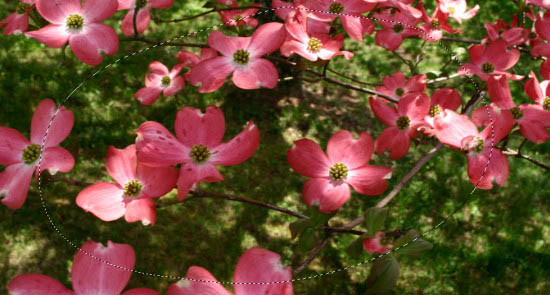
14、这一步中,我们继续添加“鲜花”素材到我们的人像中。再次使用套索工具选择下图所示的区域(羽化值为40px)。
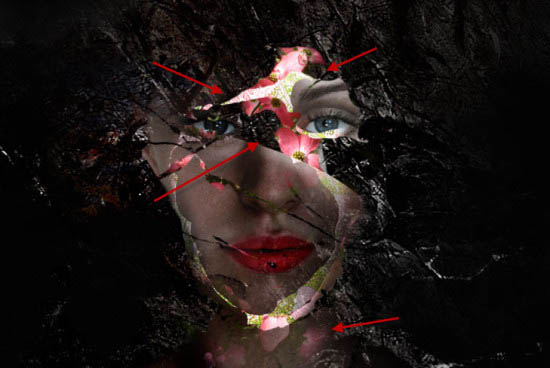
15、复制并粘贴该区域到我们的文件中,并将其放置于“模特”图层的下方。使用很小、硬的橡皮擦,来去除除了粉色花朵之外的其他区域。
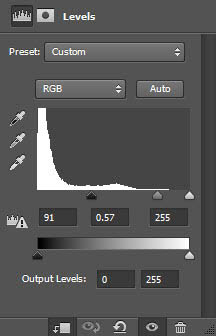
16、向该“鲜花”图层应用以下的色阶调整图层。
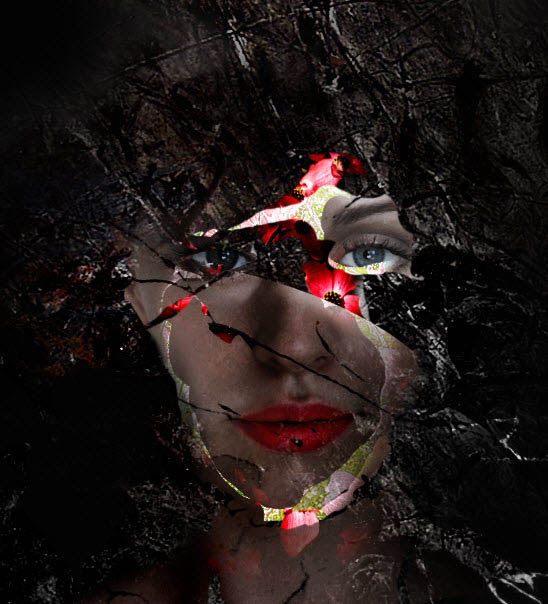
17、到了这里,我们得到的人像效果如下图所示。
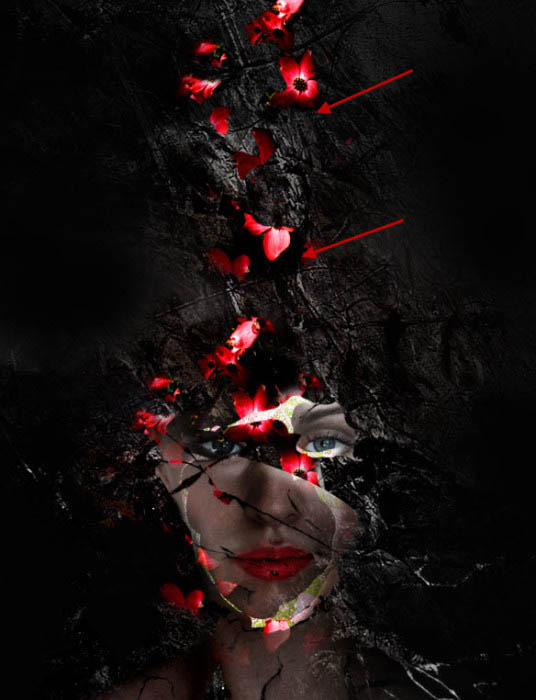
18、将该“鲜花”图层多复制几次,并将其如下图所示移动至顶部。
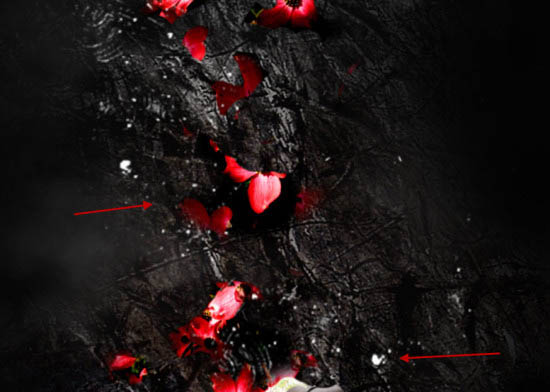
19、进行到这里,我们的作品其实已经完成的差不多了。这一步中我们要做的就是细节修改,让整个人像更加真实自然。这里,我们可以在鲜花的周围添加一些飞溅特效,如下图所示。
20、在画布周围添加一些云朵/烟雾特效。

21、使用模糊工具,将顶部的一些鲜花做模糊处理。
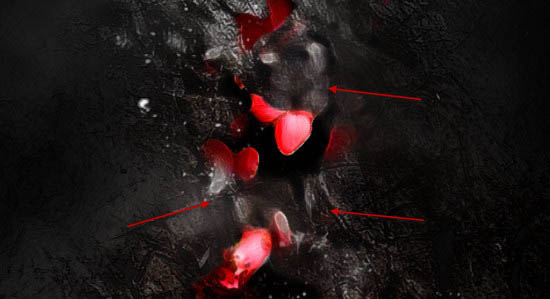
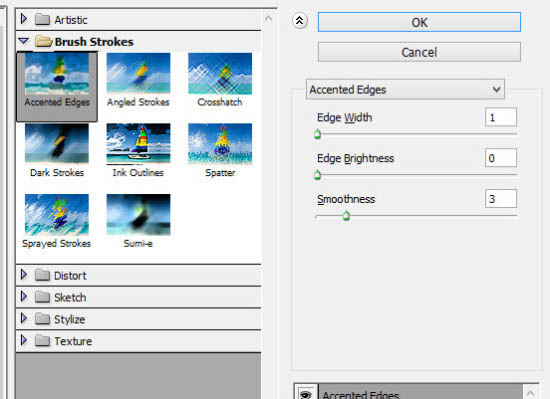
22、到了这里,我们就要拼合图像了。复制背景图层,并应用下图所示的边缘滤镜来复制图层。
23、对该复制图层应用下图所示的蒙版。

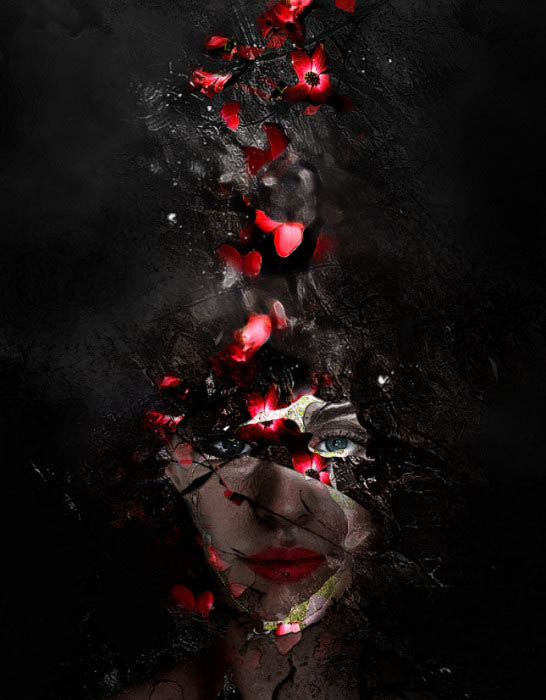
24、到了这里,我们得到的人像特效如下图所示。
了让整幅合成作品的视觉效果更好,笔者还给它添加了一些调整图层来调整整体的色调,例如可选颜色、曲线、曝光度等等。笔者这里就不详细贴出各个调整图层的具体参数设置了,可以自行尝试。

标签:人像海报