三、图层调色
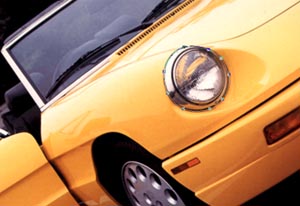
思路:此时,如果只对改色部分作简单的红色填充,会感觉色彩死板,图中需要的是随着光影变化的红色,所以需要找出车体黄色变化的通道,并以此来填充红色。
复制文件 菜单:图像 > 复制,在新文件中,把“汽车”图层以外的层全部删除,并把色彩转为 CMYK 色菜单:图像 > 模式 >CMYK 颜色,选择其黄( Y )通道,这也正是黄色表现较完整的通道;
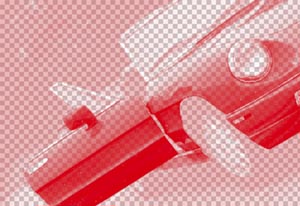

按住 Ctrl 键单击通道转为选区,注意此时要反选选区, Ctrl+Shift+I 否填充出来的图像是反的,新建图层,然后填充红色( R200 G0 B0 );

全选图层 Ctrl+A ,并拷贝 Ctrl+C ,回到原来的工作文件内,粘贴 Ctrl+V ,把黄车体路径转选区给图层加上蒙版;
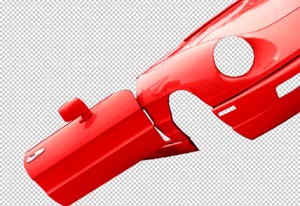
设为颜色模式,复制本层,设颜色加深模式、填充 10% ,让颜色更饱满,此时观察此时图象,高光部分的色彩还不够丰富,需要一个高光部分完整的通道,填充白色来完善;

观察各通道发现原图 CMYK 模式下的品红 (M) 通道对高光区的表现较好,在复制的文件中选择这个通道;

同样按住 Ctrl 键单击通道转为选区,这次不需要反选选区,新建图层填充白色;

全选 Ctrl+A ,并拷贝 Ctrl+C ,回到原来的工作文件内,粘贴 Ctrl+V ,把黄车体路径转选区给图层加蒙版;

设为柔光模式提亮高光,复制本层,设颜色减淡模式、填充 6% ,强化高光,完成工作;
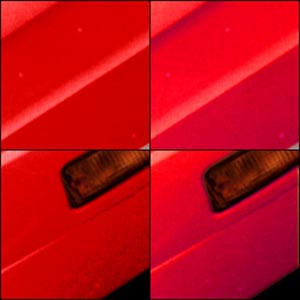
对比两种调色效果,单纯的常规调节在颜色的纯度与饱和度上出现了难以解决的问题,而加入了图层调色后颜色就饱满、均匀了很多。
用钢笔工具退出车灯部分为一个独立图层

同样对车灯图层用用 Ctrl+U 进行常规调色为红色。
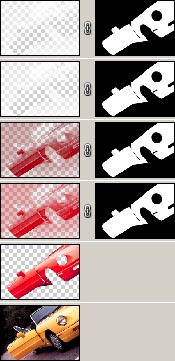
图层分析
第六层:复制唇彩图层,以颜色减淡模式叠加强化高光;
第五层:把品红( M )通道转化为白色图层,以柔光模式叠加增加亮度;
第四层:复制唇彩图层,以颜色加深模式叠加增加颜色饱满度;
第三层:复制原图,转 CMYK 模式,得到其黄( Y )通道,并把通道转化为红色图层,复制粘贴回到工作文件中来,以颜色模式叠加,并用蒙版确定其范围;
第二层:用路径退底得到黄色本体,并用色相/对比度命令调节为红色;
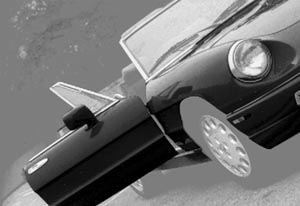
第一层:以原图像为底;