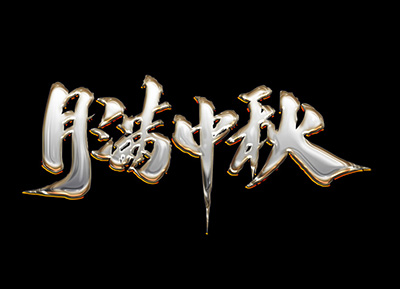
本文的立体字制作分为三个部分:首先用PS自带的3D工具做出初步的立体字;然后在立体字的表面和立体面加上海底和海浪素材;最后在文字上面加上海洋相关的一些素材,如:海鸥、海豚、帆船、小岛、鲸鱼等。
最终效果
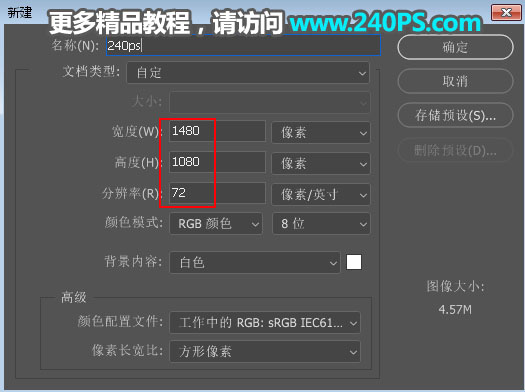
1、新建文件。打开PS软件,按Ctrl + N 新建文件,尺寸为1480 × 1080像素,分辨率为72像素/英寸,然后点确定。
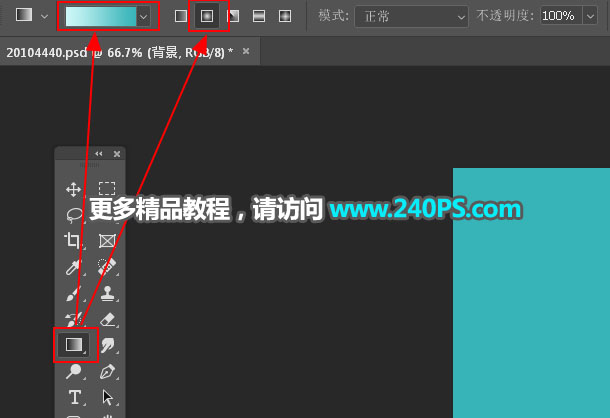
2、添加渐变背景。在工具箱选择“渐变工具”,在属性栏选择“径向渐变”,然后点击渐变色设置渐变,颜色设置为淡青色至青色,然后由画布的右上角往下拉出渐变色,过程如下图。

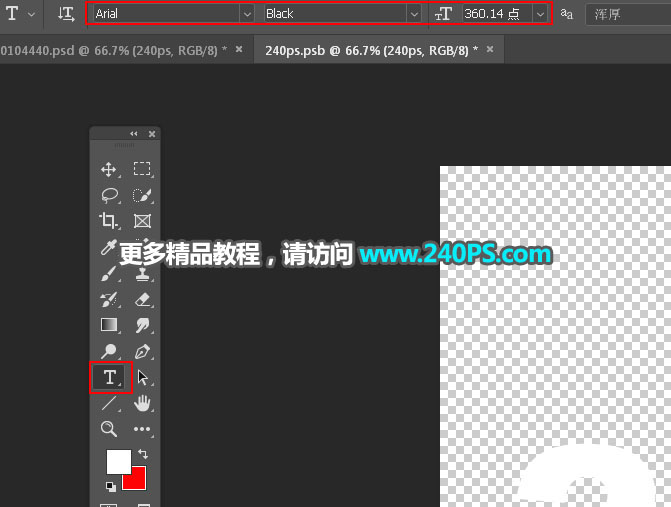
3、下面来制作立体字。在工具箱选择“横排文字工具”,在属性栏设置字体和字体大小,颜色用白色。
4、然后在画布上点击一下,输入文字,效果如下图。
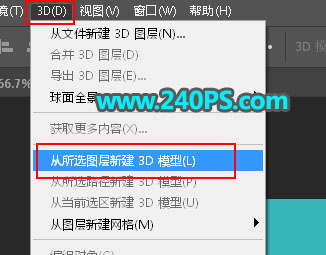
5、设置立体字参数。选择菜单:3D > 从所选图层新建3D模型。
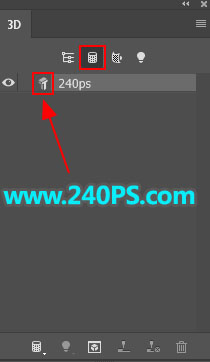
6、在3D面板选择上面的第二个图标,然后双击箭头所指的图标设置参数。
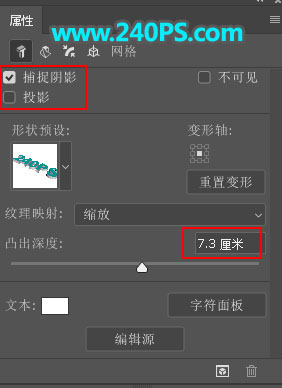

7、参数设置好后,再来调整文字透视,根据自己的喜好选择合适透视,如下图。
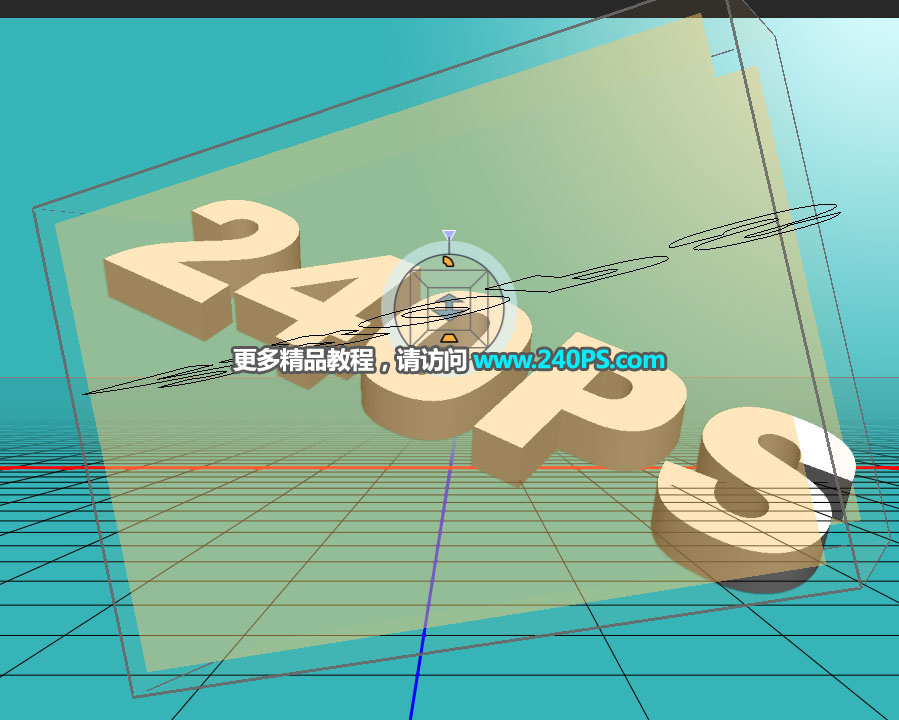
8、这是现在的效果。

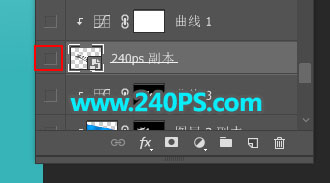
9、按Ctrl + J 把当前3D图层复制一层,把副本图层暂时隐藏。
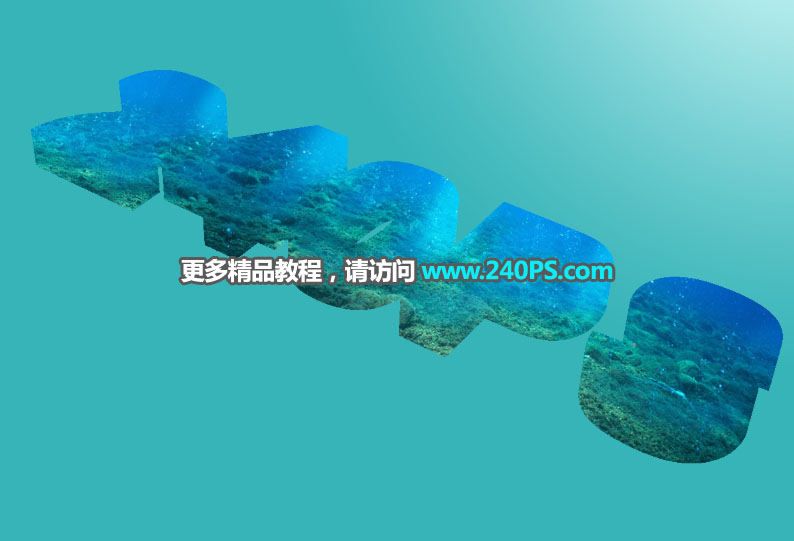
10、立体面部分添加海底素材。选择原文字图层,打开下面的海底素材,用移动工具拖进来,转为智能对象后按Ctrl + T 变形,调整角度和大小,满意后按Ctrl + Alt + G 创建剪切蒙版。


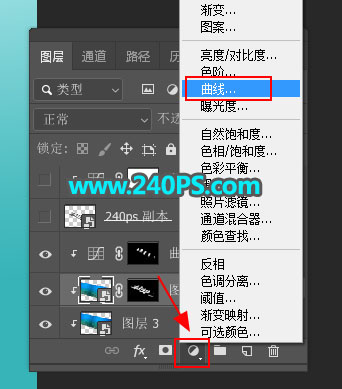
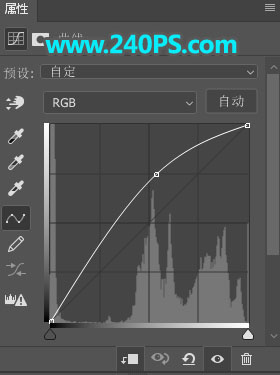
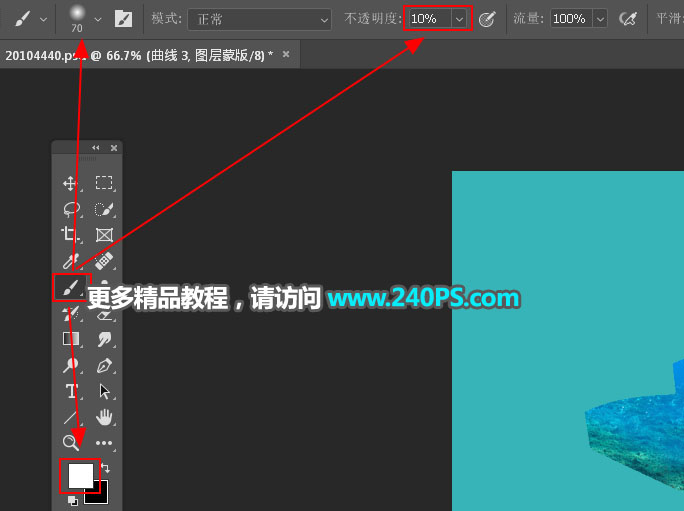
11、局部添加高光。创建一个曲线调整图层,把RGB通道大幅调亮,参数设置如下图,确定后创建剪切蒙版,然后把蒙版填充黑色;前景色设置为白色,选择画笔工具,画笔不透明度设置为10%左右,然后用画笔把文字顶部受光区域涂亮一点,过程如下图。

标签:立体字