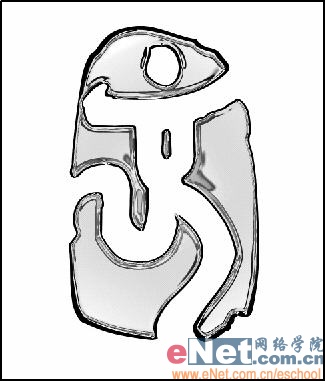
6、按Ctrl+C键,切换到图层面板,关闭图层1,新建图层2,确定图层2为当前层,按Ctrl+V键,将通道中的内容粘贴到图层中,效果如图10所示。
7、在图层面板底部单击“创建新组”按钮,新建图层组1,将图层2拖拽到组1中,使图层2成为图层组中的一个图层。
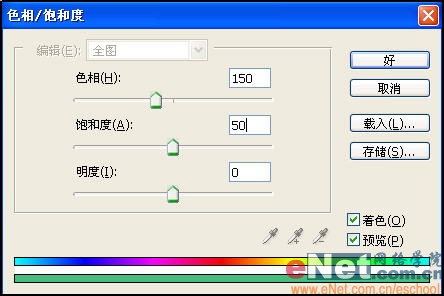
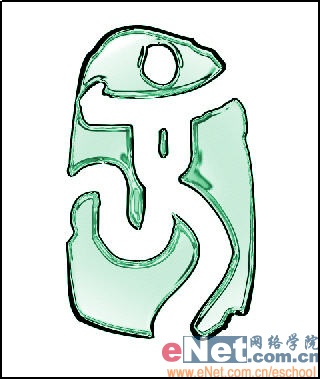
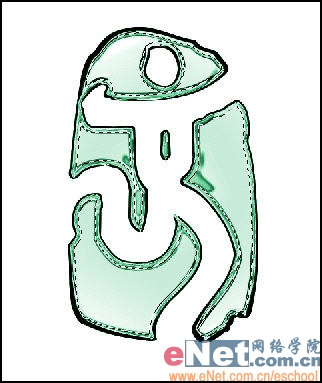
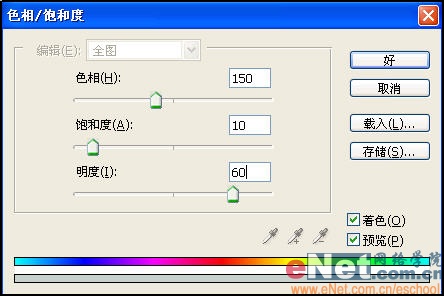
8、选择图层2,在图层面板底部单击“创建新的填充或调整图层”按钮,在弹出的菜单中选择“色相/饱和度”命令,在弹出的对话框中进行如图11所示的设置,画面效果如图12所示。
10、选择图层3,在图层面板底部单击“添加图层蒙版”按钮,为图层3添加一个图层蒙版。在图层组1副本的调整图层上双击,打开“色相/饱和度”对话框,设置如图15所示,调整后的图像效果如图16所示。
11、将鼠标放在调整图层和图层3之间,按Alt键,鼠标改变形状后单击,创建剪贴蒙版,如图17所示,图像效果如图18所示。

标签:玻璃效果