福字制作主要分为两部分:文字及立体面。文字部分用图层样式做出类似金属质感。立体面部分则用手工制作质感。整体效果自然美观即可。
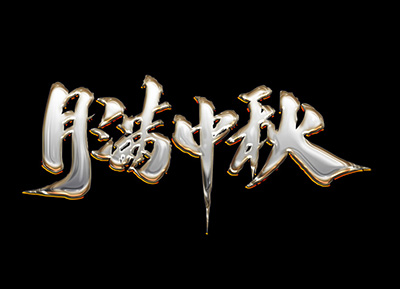
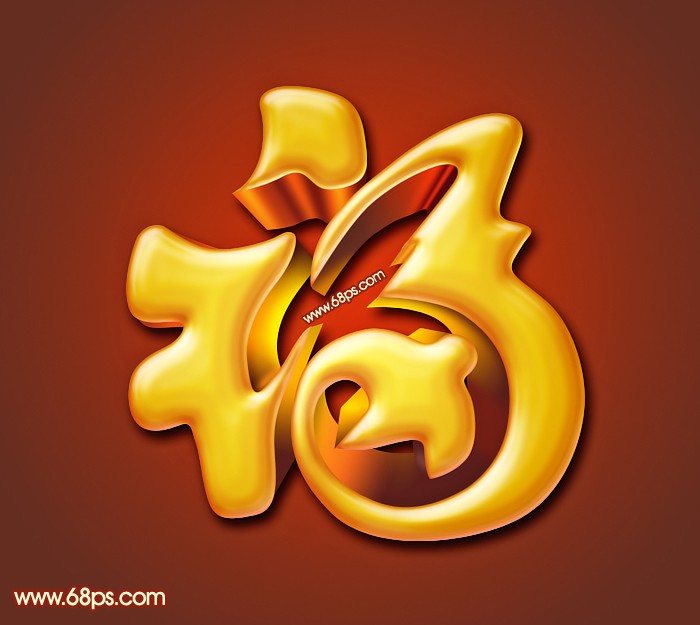
最终效果
<图1>
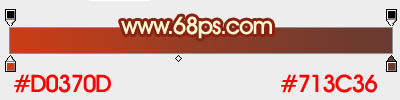
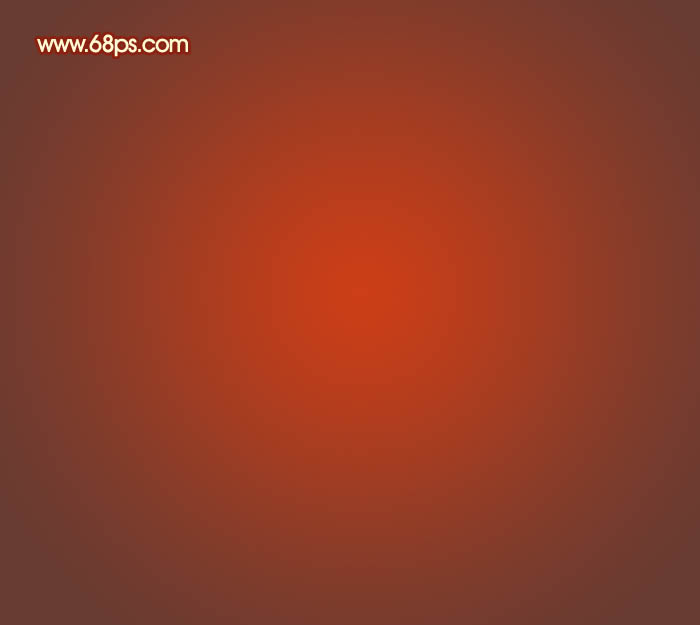
1、新建一个800 * 800像素的文件,选择渐变工具,颜色设置如图2,拉出图3所示的径向渐变作为背景。
<图2>
<图3>
2、先来制作文字部分。
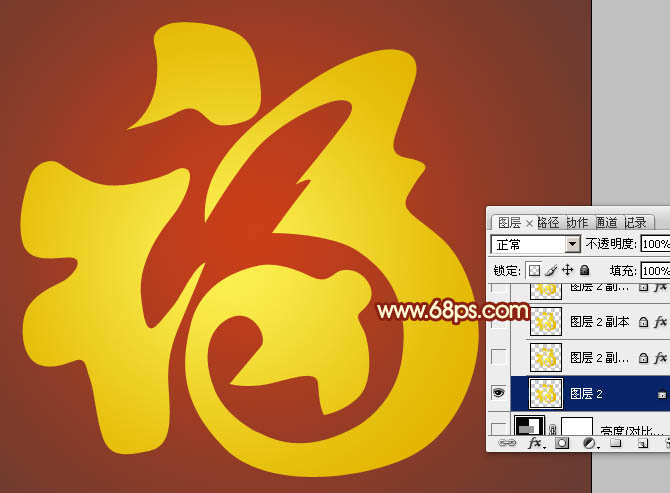
打开文字素材,拖进来,解锁后移到合适位置,然后再锁定像素区域,用渐变拉上黄色至橙黄色径向渐变,效果如图5。

<图4>
<图5>
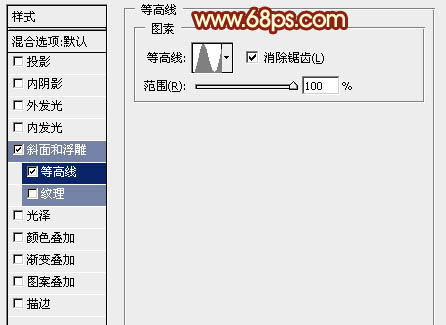
3、双击文字图层调出图层样式,设置斜面和浮雕及等高线两项,参数设置如图6,7,效果如图8。

<图6>
<图7>
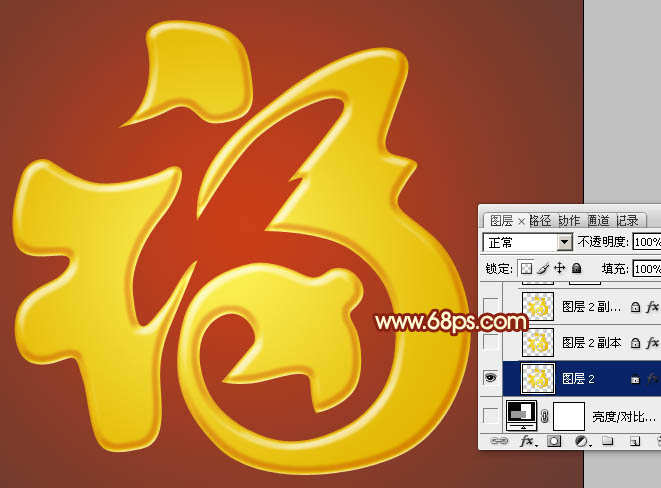
<图8>
标签:金色字