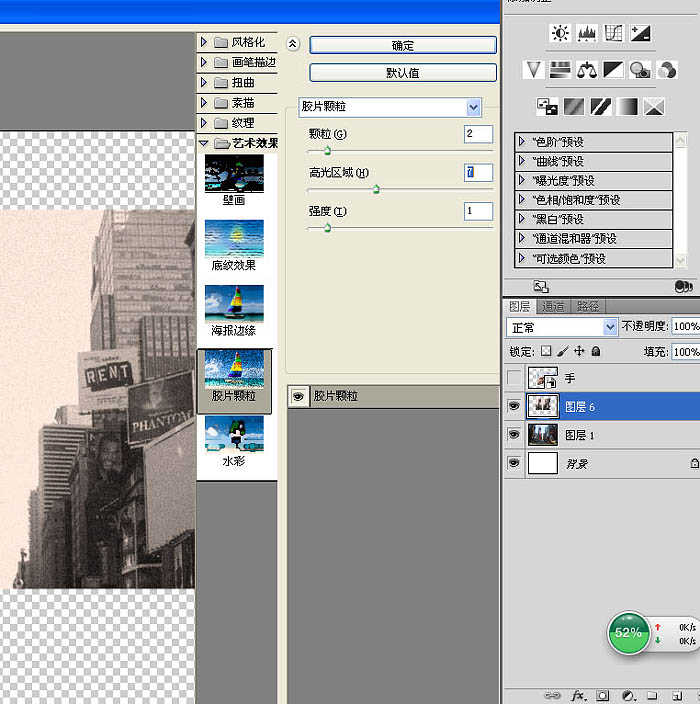
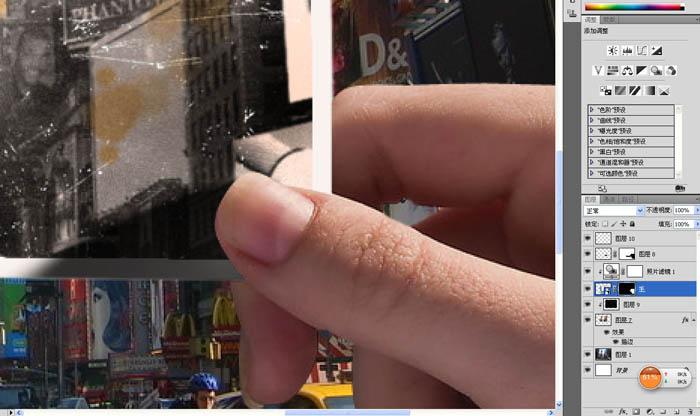
11、添加“胶片颗粒”效果,点到为止,别太过了,否则就会有点假。
12、在老照片上新建一层,添加云彩后剪贴蒙版到老照片。

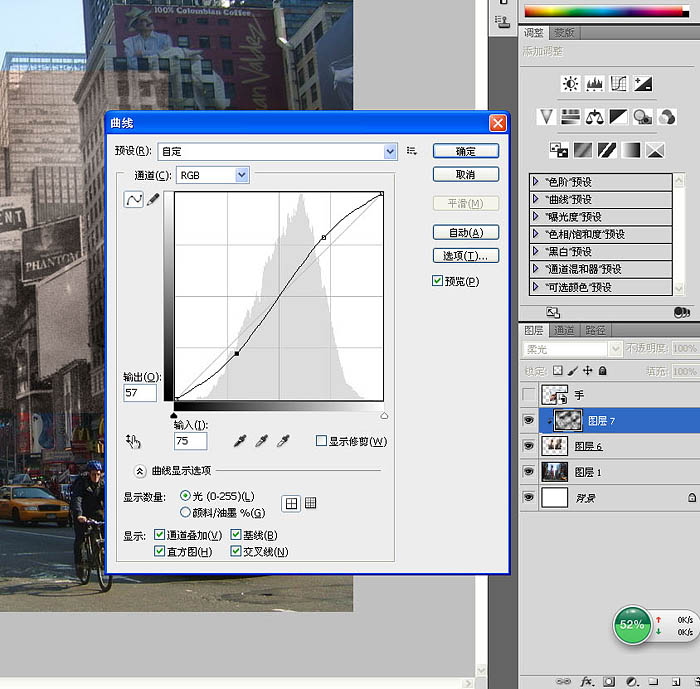
13、把云彩的混合模式改为“柔光”,像刚才处理老照片一样,把对比度调一下,像是照片放久了之后有些地方会褪色一样,继续把这个云彩跟老照片合并。
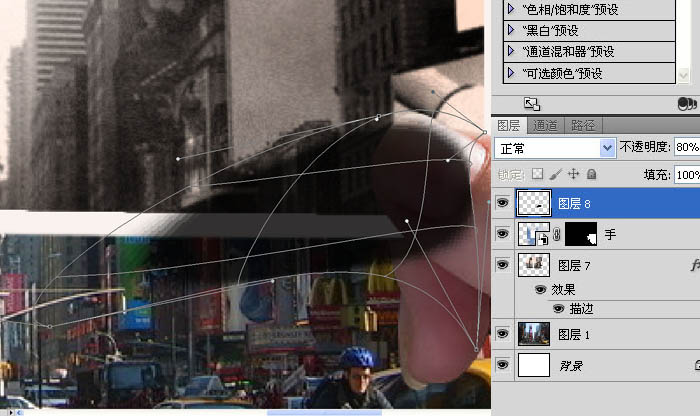
14、这里又是一个细节问题,因为是手拿着照片,它的图像跟现在的场景重合程度肯定不会天衣无缝,会有些偏差,之所以这样才会更加逼真。所以我用变形把老照片中的建筑物跟现在场景做些偏移。
15、点开这只手图层前面眼睛。Ctrl+t自由变化,水平翻转一下,让手的受光面跟图片同一个方向,不然就穿帮了。
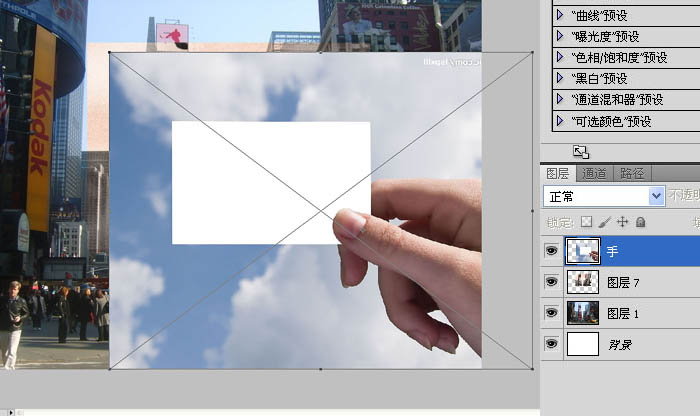
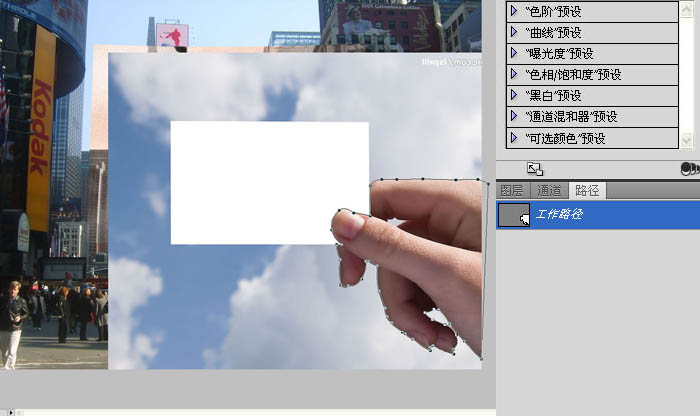
16、用钢笔抠出手的路径。
17、结合老照片的选区给手添加一个蒙版,这样就有了一个手捏着照片的雏形。

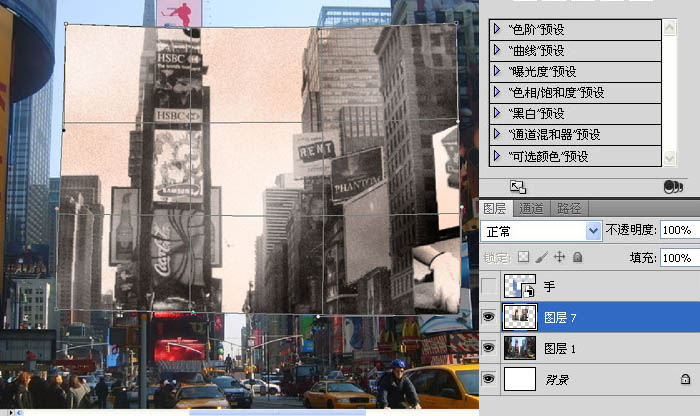
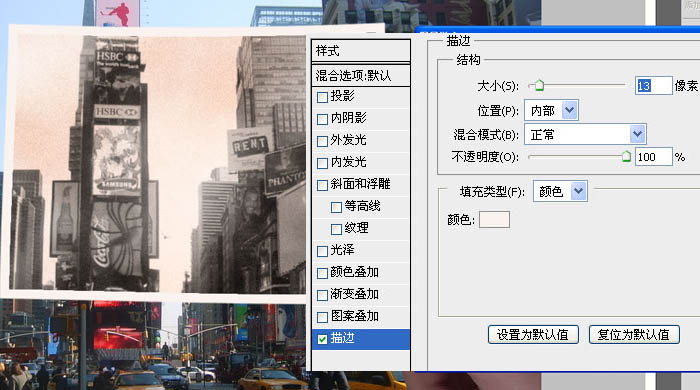
18、给老照片添加描边。
19、新建一层,用黑色的画笔点一下,用变形工具制作一个大拇指投射在照片上的阴影注意阴影的长度要跟画面里的阴影方向强度一致。
20、同样添加蒙版限制照片以外的黑影。

21、继续给手添加一个照片滤镜,剪切蒙版在手上。模拟初晨的阳光那种暖暖的感觉,无法添加滤镜的同学记得栅格化图层哟。

22、我还找了一张划痕的素材,剪切蒙版(Ctrl+alt+g)在老照片上。

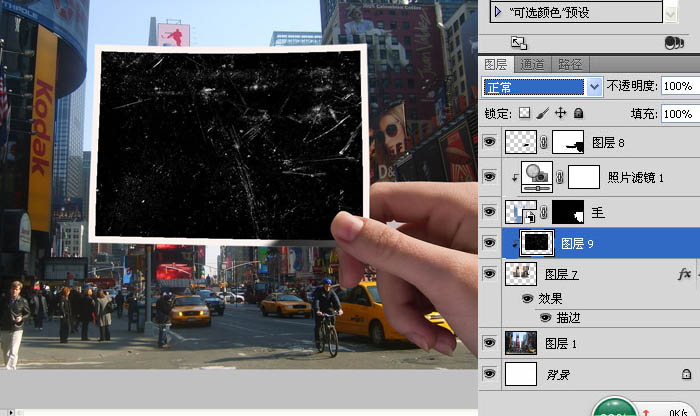
23、把划痕的混合模式改为“滤色”,新建一层继续用画笔选取黄色点几下,我想让照片上有些霉斑。
最终效果:

<点小图查看大图>
标签:调色教程